



Handmade Leather Gifts: From Wallets to Pencil Cases
Some of the most memorable handmade leather gifts to make aren’t sewn from a flat pattern. A vegetable-tanned leather pencil case, for example, can be shaped by wetting the leather, pressing it over a form, and leaving it to dry in place. This simple molding technique gives a practical gift a distinctive shape.
A wallet, keychain, notebook cover, or pencil case can make a thoughtful gift when it suits the recipient’s everyday needs. Choose a project that matches your skills, then take care with each cut, fold, and finish. This guide covers gift ideas from wallets to pencil cases, with practical steps for preparing, shaping, and assembling leather. You’ll also learn how to mold a pencil case, a distinctive project if you’re ready to try something beyond a flat pouch.
Key Takeaways
- Choose a gift project to suit its recipient, from a practical wallet or keychain to a notebook cover or camera strap made from an old belt.
- Plan wallet and card-case dimensions around what the recipient carries, then make clean cuts and carefully aligned folds for a useful finish.
- Shape a distinctive pencil case by wetting vegetable-tanned leather, pressing it into form, and letting it dry in place.
- Match your tools and materials to the project, including leather thickness, cutting and hole-making tools, and suitable hardware.
- Make a keychain by preparing a leather strip and using Chicago screws to secure it while keeping it easy to take apart for attaching keys.
Handmade leather gift ideas
Start with the recipient’s habits, then choose a design you can finish neatly. When deciding which handmade leather gifts to make, think about how the person will use each piece.
-
Choose Leather Types and Thicknesses
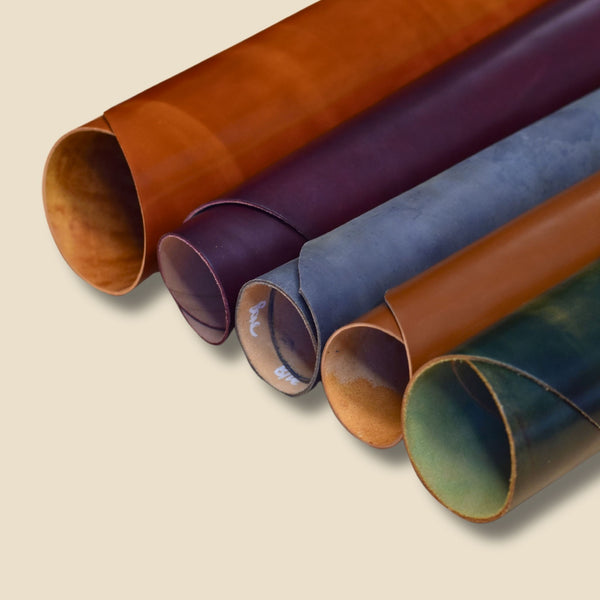
Start with vegetable-tanned leather for projects that need stamping or molding. It can be dampened and shaped over a form, then left to dry in that shape. Match the leather’s flexibility to the design: folded card cases need comfortable creases, while a mousepad benefits from a firm surface. Use leather at least 6 ounce thick for a mousepad, and avoid stiff material for tight folds.
- Choose a no-sew design if you want to avoid stitching. A bookmark needs only a cut strip and finished edges; a luggage tag or cord wrap can be made with a hole and suitable fastener. To make a simple key fob, fold a leather strip around a key ring and secure it with hardware. Costs vary with the amount of leather, hardware, and dyes needed, as well as the tools you already own. Reusing offcuts can reduce material needs.
- Personalize the leather before assembly. Apply dye with an applicator according to the product directions, then let it dry before handling. To stamp initials or a small pattern, dampen vegetable-tanned leather and press the stamp against it on a supported surface. Test the impression on an offcut first. Cut on a stable mat, secure the leather, and keep your free hand clear of the blade.
- Source leather and supplies from leathercraft retailers serving customers across the United States. Compare listings by material, thickness, and intended project, then gather the leather, fasteners, and tools before starting. Local craft stores can be useful for basic supplies; specialist suppliers can help you find materials suited to leatherworking projects.
- Make the gift personal by considering its shape and purpose. Cut a bookmark to suit the recipient’s favorite book, or make a cord wrap for charging cables. An old belt can become a camera strap, with its existing length providing a useful starting point. For a mousepad, plan the outline around the desk space and attach thin, grippy drawer liner with water-based cement for a non-slip backing. These handmade leather gifts to make can be tailored to someone’s daily routine, though if you also want ready-made customized keepsakes to accompany your crafts, you can find inspiration and personalised gifts at engraveitnow.co.uk.
-
Make a Leather Keychain
Cut a leather strip to your preferred shape and mark where it will fold around the key ring. Punch a hole through the overlapping layers, then check the alignment before fastening. Use a Chicago screw to secure the fold while allowing you to take it apart later to attach keys. Before trimming or finishing the edges, make sure the screw sits flush and the ring moves freely.
Leather wallets and card cases
A wallet works best when its pockets fit what the recipient actually carries. Build the pattern around their cards, notes, and preferred pocket access.
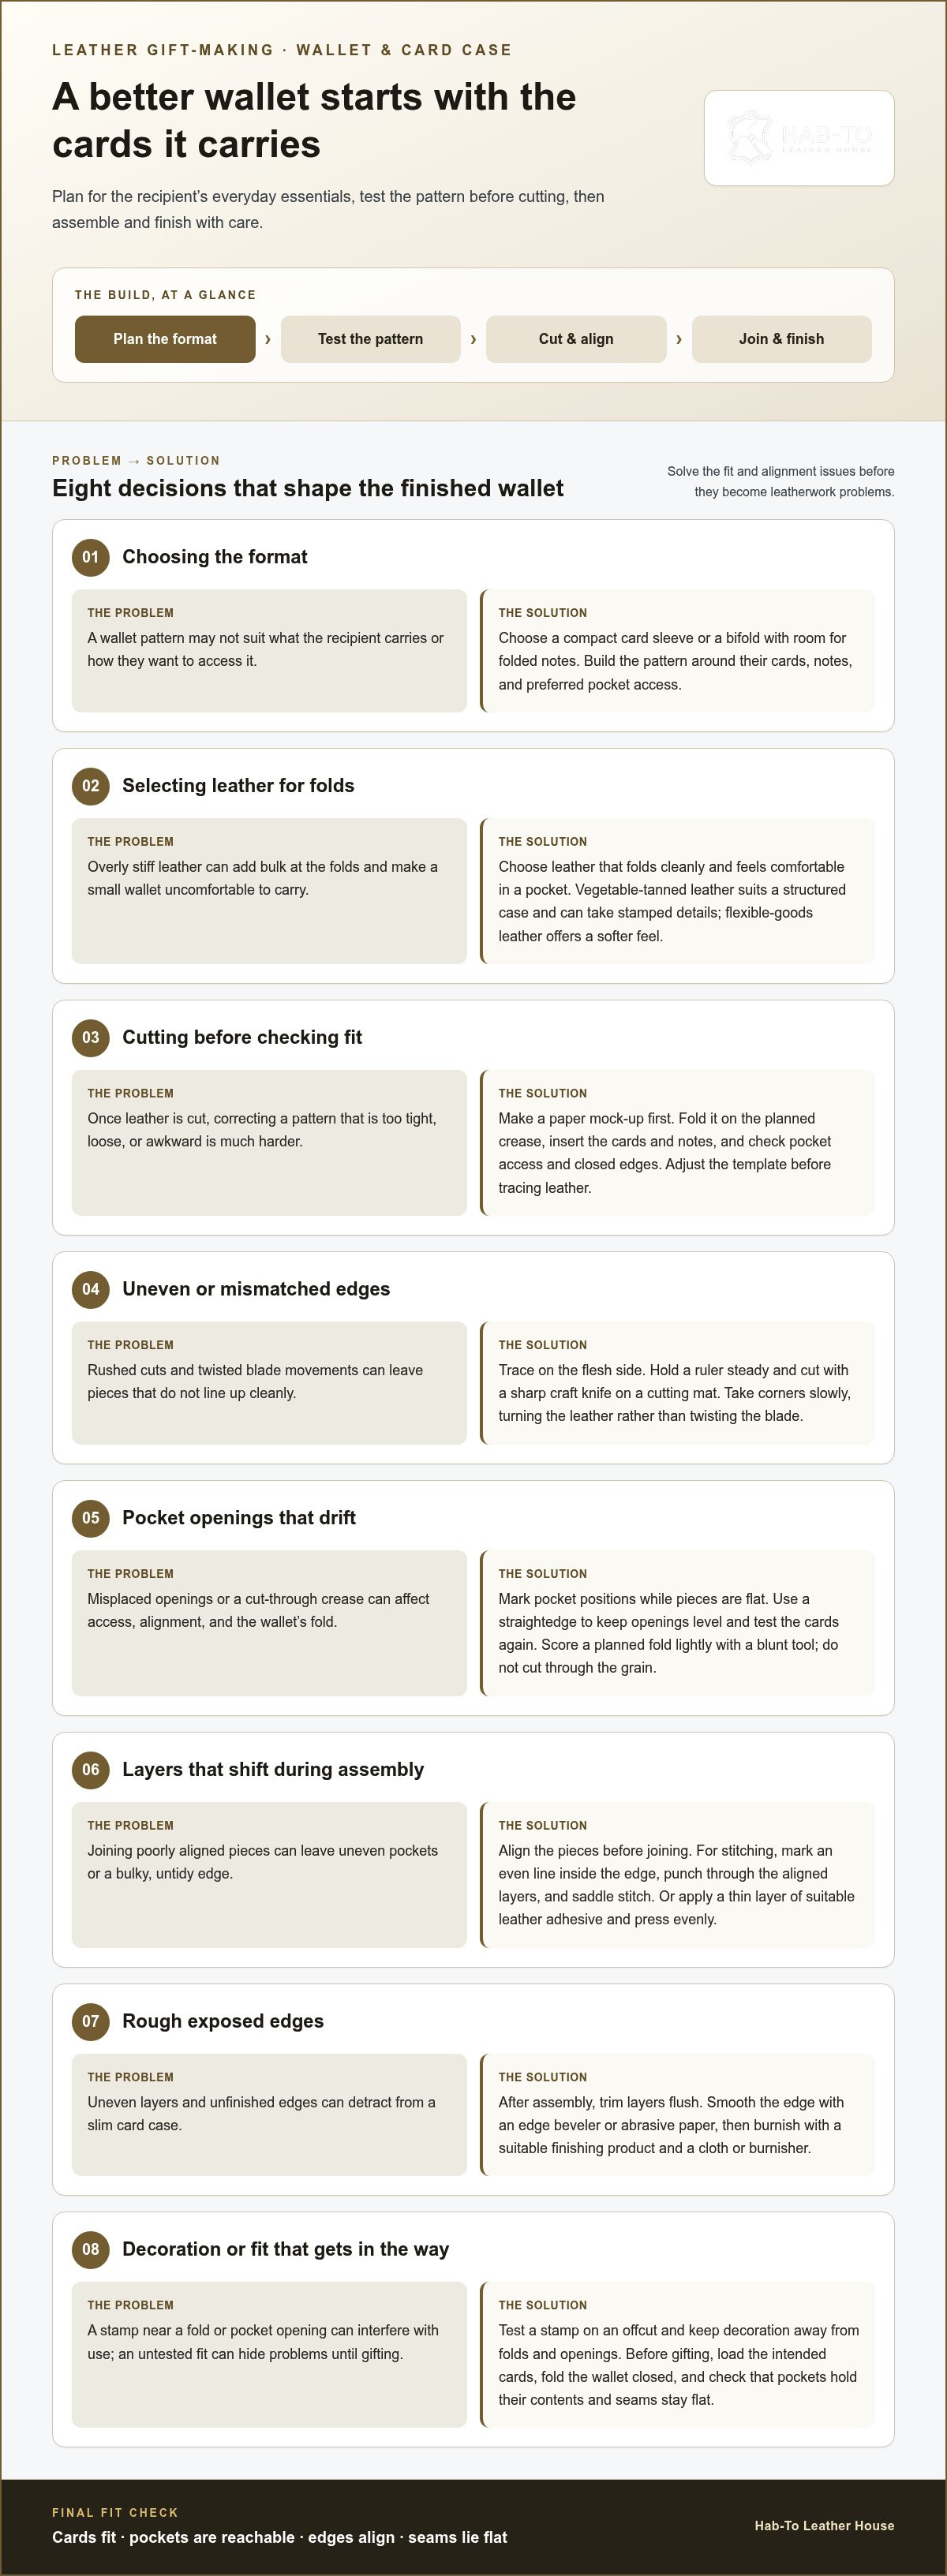
- Choose the format before cutting the leather. A card sleeve keeps the project compact, while a bifold has room for folded notes. Sketch the exterior and pocket pieces on paper first. Place the recipient’s cards against the pattern and allow enough room to remove them easily without making the pockets loose.
- Choose leather that folds cleanly and feels comfortable in a pocket. Vegetable-tanned leather works well for a structured card case and can take stamped details. For a softer feel, select leather intended for flexible goods. Avoid overly stiff leather at the folds, where extra bulk can make a small wallet uncomfortable to carry.
- Make a paper mock-up before tracing the final pattern. Fold it along the planned crease, then insert the cards and notes. Check that the pocket openings are easy to reach and the edges align when closed. Adjust the pattern now: it’s easier to correct a paper template than to replace cut leather.
- Trace each pattern piece onto the flesh side of the leather. Hold the ruler steady and use a sharp craft knife on a cutting mat. Cut corners slowly, turning the leather rather than twisting the blade. Clean, matching edges help the finished wallet look considered.
- Mark the pocket positions while the pieces are still flat. Use a straightedge to keep the openings level, then test the fit with the cards again. If the design has a folded exterior, score the fold lightly with a blunt tool. Don’t cut through the grain at the crease.
- Join the layers with stitching or suitable leather adhesive. For stitching, mark an even line inside the edge and punch holes through the aligned pieces. Saddle stitching secures the pocket layers with thread that crosses through each hole. If you use adhesive, apply a thin layer and press the pieces together evenly.
- Finish the edges after assembly. Trim uneven layers flush, then smooth the edge with an edge beveler or abrasive paper. Burnish the exposed edge with a suitable finishing product and a cloth or burnisher. Take your time: clean edges give a slim card case a polished finish.
- Add a subtle personal detail, such as initials on an outer corner or a small decorative mark inside the wallet. Test the stamp on an offcut first, as pressure and placement affect the impression. Keep decoration away from folds and pocket openings, where extra texture can interfere with use.
- Before gifting, load the wallet with the intended cards and fold it closed. Check that pockets hold their contents and seams remain flat. If you’re gathering materials for a wallet project, browse these leathercraft bundles as a practical starting point.
Molded vegetable-tanned leather pencil case
Shape vegetable-tanned leather over a form to make a pencil case with sculpted sides. Wet the leather, press it into shape, and leave it to dry on the form.
- Plan the case around the pencils it will hold. Place them beside a paper pattern and sketch the base, sides, and opening. Allow room for the leather to curve around the contents. A narrow case suits a few writing tools, while a wider shape can hold pencils and an eraser.
- Choose vegetable-tanned leather for the molding process. Compare its feel and flexibility with the curves in your planned shape. A vegetable-tanned leather option can help you assess material for a small project. Avoid starting with a piece that feels too rigid to form smoothly.
- Make a solid form before wetting the leather. Shape a wooden or other firm mold to the case’s interior, and smooth any corners that could mark the surface. If needed, wrap the form in a thin protective layer. Test the pattern against the mold, making sure its edges meet where you plan to join them.
- Cut the leather from your paper pattern with a sharp knife and cutting mat. Keep the blade against a straightedge on long cuts. Lightly mark the centerline and any joining edges. Accurate cuts help the formed sides meet evenly around the case.
- Dampen the leather evenly with clean water. Work across the surface instead of soaking one spot, then pause until the leather feels pliable. It should bend around the mold without forming sharp creases. If it resists a curve, add moisture gradually rather than pulling hard.
- Press the damp leather over the mold, shaping the base and sides with your hands. Smooth it from the center outward to reduce wrinkles, using gentle, steady pressure around the corners. Keep the opening aligned with your pattern, and avoid stretching one side more than the other.
- Secure the leather in shape while it dries. Use clips or light ties where they won’t leave marks, and check that the edges stay aligned. Let the leather dry fully on the form. Removing it too soon can distort the molded profile, so give it time.
- Join the case edges after the leather has dried. Align the sides, mark an even seam path, then stitch them or use suitable leather adhesive. Check the case’s fit before trimming uneven edges. A magnetic-lid design can incorporate three magnets in its lid, as specified for the project.
- Finish the edges and test the case with its intended contents. Smooth rough edges, then check that the pencils slide in and out without catching. Look for uneven curves in the molded sides and gaps in the seam. If you want to personalize the gift, add a stamped initial or small motif before assembly.
What leather tools and materials are needed for DIY gifts?
Gather the tools your project needs and keep the work surface clear. A key fob, card case, and small pouch each call for a different combination of leather, hardware, and finishing supplies.
What you will need
Choose supplies according to the steps your design requires. A basic workbench setup can include:
- Leather suited to the project’s shape, folds, and intended use.
- A cutting mat, sharp craft knife, and metal ruler for cutting the pattern.
- A scratch awl for marking lines and hole positions.
- A hole punch, stitching chisel, or pricking iron for fasteners and seams.
- Thread, needles, suitable adhesive, and hardware, as needed for the design.
- Edge-finishing supplies and stamps or dye for optional decoration.
- Choose the leather after drawing the pattern. A flat bookmark needs less shaping than a folded case. Make sure the piece has room for every panel, seam, and fold. Keep an offcut to test marks, finishes, or adhesive before applying them to the gift.
- Set up a stable cutting area before tracing the pattern. Place the cutting mat on a firm table and position the metal ruler along straight lines. Keep scraps away from the blade’s path. A clear surface makes marks easier to see and helps you stay in control while cutting.
- Match the hole-making tool to your construction method. A hole punch makes openings for rivets or screws, while stitching chisels create a row of holes for thread. Mark the placement first and test the spacing on scrap leather. Use only the tools your pattern requires.
- Gather joining supplies before assembling the layers. Set out thread and needles for sewn construction, or suitable leather adhesive for bonding pieces. Include the hardware your design needs, such as a key ring or snap. Keep small parts in a tray to avoid misplacing them.
- Prepare finishing materials for the edges and surface. An edge beveler softens sharp corners, while abrasive paper smooths uneven cuts. Use dye or stamps only if they suit the design. Test them on a scrap piece before finishing the visible surface.
- Arrange supplies in the order you’ll use them: pattern and marking tools first, cutting tools next, then joining and finishing materials. This simple setup reduces interruptions during assembly. If you’re gathering coordinated supplies, leathercraft bundles can be considered alongside the individual tools and materials your design requires.
- Put safety first at every stage. Secure the leather before cutting, guide blades away from your hands, and point awls and punches toward the work surface. Follow the directions for adhesives and dyes, and clear the bench before putting away sharp tools.
How do you make a handmade leather keychain step by step?
A keychain is a compact project for practicing clean cuts and careful assembly. Follow these steps to make a leather fob that holds its shape and keeps its hardware secure.
- Choose an offcut that bends around a key ring without cracking. Check both sides for deep marks across the planned fold. Very stiff leather can make the folded end bulky, so test the bend before cutting.
- Sketch a straight, tapered, or rounded shape on paper. Fold the template around the key ring and check how much leather overlaps. Leave enough room for the fastener while keeping the finished fob comfortable to hold.
- Trace the pattern onto the flesh side of the leather. Clearly mark the fold and hole center with a scratch awl. Check the grain first, and position visible marks away from flaws that could distract from the finished piece.
- Cut the outline on a cutting mat with a sharp knife and metal ruler. Use controlled strokes rather than forcing the blade through the leather. Turn the piece to follow curves, and keep your guiding hand clear of the cutting path.
- Refine the perimeter before folding the fob. Carefully trim small uneven areas, then smooth rough cuts with abrasive paper. If you plan to add dye or a stamped initial, test the finish on an offcut first.
- Fold the leather around the key ring and check the overlap. Make sure the ring moves freely and the layers sit flat. Hold the fold in its intended shape while marking the screw position through both layers.
- Punch a clean hole at the marked point. Choose a punch that fits the Chicago screw post and hold it perpendicular to the leather. Check the alignment before assembly, since crooked holes can twist the tab.
- Insert the Chicago screw through the folded leather and tighten the cap. The screw secures the keychain and can be removed later when you need to attach keys. Tighten it firmly, but don’t buckle or crush the leather around the hole.
- Open and close the screw once to inspect the fob. Make sure the ring moves freely and the fold stays aligned. If you’re gathering supplies for key fobs or other small projects, a leathercraft bundle can bring useful materials together for your workbench.
Hab-To Leather House: Vegetable Tanned Leather
Hab-To Leather House helps you bring your next leather gift project together with vegetable-tanned leather, leather hardware, leatherworking tools, and crafting bundles. Choose materials with your project in mind: vegetable-tanned leather suits stamped details and molded shapes, while hardware helps secure practical pieces such as keychains. The right tools support clean cuts, aligned holes, and neat finishing. If you’re preparing a first project, a crafting bundle can bring useful materials together for your workbench. Explore these supplies when you’re ready to move from patterns and practice pieces to a finished handmade gift. For leather and tools for your next project, visit hab-to.com or contact Hab-To Leather House.
Make Your Next Project Your Own
Make your next piece personal with a new shape or a detail inspired by its recipient. Note what you enjoyed making and let that guide your next design. Small creative choices can give your work a character of its own.
For your next project, explore leathercraft bundles as a way to gather materials for making. Choose a project that suits your interests and build your skills one careful step at a time.
For more inspiration, explore the article sections on leather wallets and card cases, molded pencil cases, and handmade keychains.
Keep experimenting, trust your eye, and enjoy bringing your next leather project to life.
Frequently Asked Questions
What are easy handmade leather gifts for beginners?
A luggage tag or simple glasses sleeve is a manageable first project. For a tag, cut a flat panel, add a window or name area, and attach a strap with a rivet. For a sleeve, trace around the glasses with room to slide them in, then join the sides. Test the shape with paper first and adjust the fit before cutting the leather.
How do you make a leather card holder or wallet at home?
Start with a one-pocket card holder and use the recipient’s cards to check the fit. Decide whether the cards should slide in from the top or side, then shape the opening for easy access. A shallow thumb notch can make a card easier to retrieve, while rounded corners help prevent snagging in pockets. Test these details on a paper mock-up before cutting the leather.
How much does it cost to make handmade leather gifts?
Costs depend on the amount of leather, hardware, and dye needed, as well as the tools you already own. Reusing offcuts can reduce material needs.
Disclaimer
All our blog articles are made for information purposes only we dont take responsability for any content from third parties.