

How to Seal Leather After Dyeing to Prevent Rub-Off
Don’t reach for the top coat first: sealing leather after dyeing starts with letting the dye dry completely, then buffing with a clean, dry cloth until no color transfers. Once the surface is clean, apply a compatible finish in light coats, allowing each coat to dry before adding another. Wax gives a more natural-looking finish; lacquer is another option, but test it on scrap leather before using it on your project.
It’s frustrating when fresh color rubs onto your hands, clothes, or work surface after careful dyeing. The solution is a patient finishing process, not simply adding more product. This guide explains how to remove excess dye, decide whether to condition the leather, and test your finish before treating the whole piece. You’ll also learn how to choose between wax and lacquer, apply a top coat evenly, and buff the surface for a cleaner, more dependable result.
Key Takeaways
- Let dyed leather dry completely, then buff it with a clean, dry cloth to lift loose pigment before finishing.
- Condition with a light hand; several light applications are preferable to saturating the leather in one go.
- Test the dye and finish on scrap leather first to see how the color and surface respond together.
- Choose a wax finish for a more natural look or a lacquer-style finish for added sheen, applying light coats and allowing each to dry.
- If color keeps transferring, revisit the preparation and dyeing process before adding more top coat.
Conditioning and sealing dyed leather
Conditioning and sealing work best when the leather is dry and the surface is ready for a finish. Gather your materials first, then apply them in a deliberate sequence.
What you will need
- A clean, dry cloth for buffing.
- A scrap of the same leather for testing the finish.
- A compatible leather conditioner, if the leather needs conditioning.
- Your chosen leather finish and a suitable applicator. Browse leatherworking tools for tools used in leathercraft.
-
Prepare leather for a finish
Start with leather free of loose pigment and dust. Lightly buff the dyed face and edges with a clean cloth, then inspect the grain in steady light. If residue remains, clean the surface before adding conditioner or finish. For an even result, don’t let conditioner or sealer collect around stitching, folds, or cut edges.
Condition the leather only if it feels dry or needs replenishment. A supple surface may not need extra product before finishing.
-
Let dyed leather dry
Let the dye dry completely before applying conditioner or a top coat. Test a discreet area with a clean cloth: the surface should feel dry and leave no color on the fabric. If it feels cool or damp, or the cloth picks up pigment, wait longer. Applying finish over damp dye can trap color and prevent an even result.
Leave the piece undisturbed while it dries. Don’t use heat to speed things up, as uneven drying can affect the leather.
-
Choose and apply a leather sealer
Choose a finish based on the look and feel you want. Acrylic leather finishes, including Resolene, create a glossier surface; wax gives a more natural appearance. Oil or leather balm can condition the leather, but neither is interchangeable with a film-forming sealer. Test your choice on scrap leather first to see how it changes the color and surface.
Apply light, even coats with a suitable applicator, letting each coat dry before adding another. Keep the applicator moving to prevent pooling or streaks.
-
Avoid premature or unsuitable finishes
Don’t seal the leather until the dye is fully dry. A premature coat can trap damp pigment and leave the color uneven or the surface tacky. Avoid saturating the leather with conditioner or oil, especially before using an oil finish, as oil can draw dye back to the surface.
Use a scrap test to check the finished look and feel before treating the whole piece. If the sample darkens too much, feels stiff, or develops an unwanted sheen, choose a different finish rather than adding more coats.
Removing excess dye and preventing rub-off
Loose pigment can transfer even when the leather looks evenly colored. Remove residue before waxing or applying another finish, and use a cloth test to decide whether further cleaning is needed.
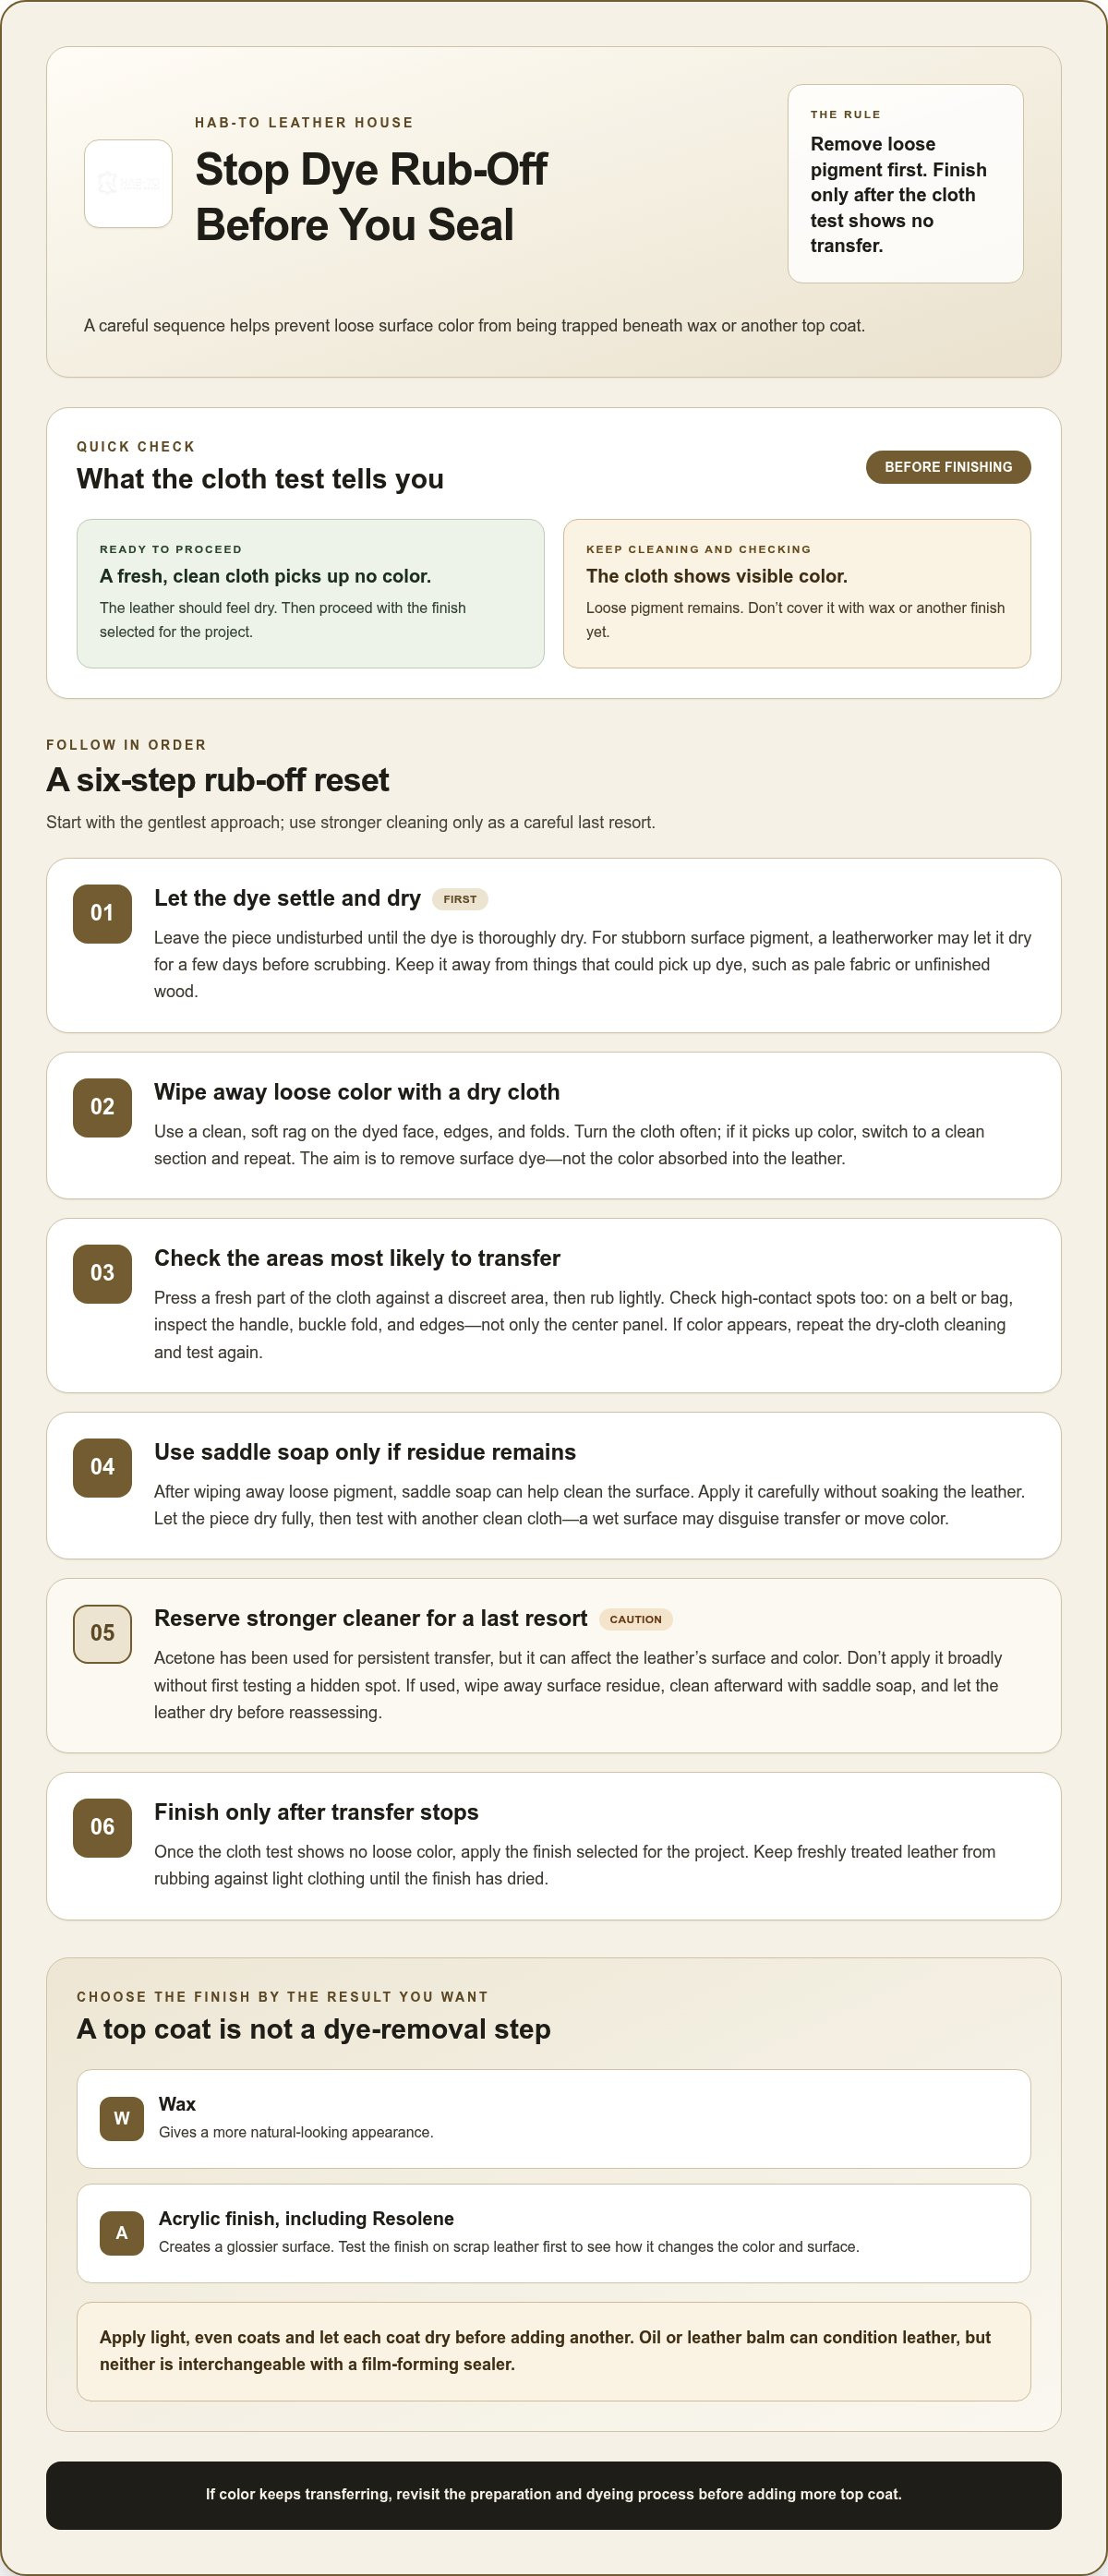
- Let the dye settle before cleaning. Leave the piece undisturbed until the dye is thoroughly dry. For stubborn surface pigment, a leatherworker may let it dry for a few days before scrubbing. Rushing this stage can spread damp color instead of lifting loose residue. Keep the piece away from anything that could pick up dye, such as pale fabric or unfinished wood.
- Wipe away loose color with a dry cloth. Use a clean, soft rag on the dyed face, edges, and folds. Turn the cloth often so you don’t smear pigment back onto the leather. If the rag picks up color, switch to a clean section and repeat. The goal is to remove surface dye, not strip the color absorbed into the leather.
- Check for transfer before adding wax. Press a fresh part of the cloth against a discreet area, then rub lightly. Visible color means loose dye remains. Repeat the dry-cloth cleaning and test again before waxing. On a belt or bag, check high-contact areas such as the handle, buckle fold, and edges. These spots can reveal transfer that a quick check on the center panel misses.
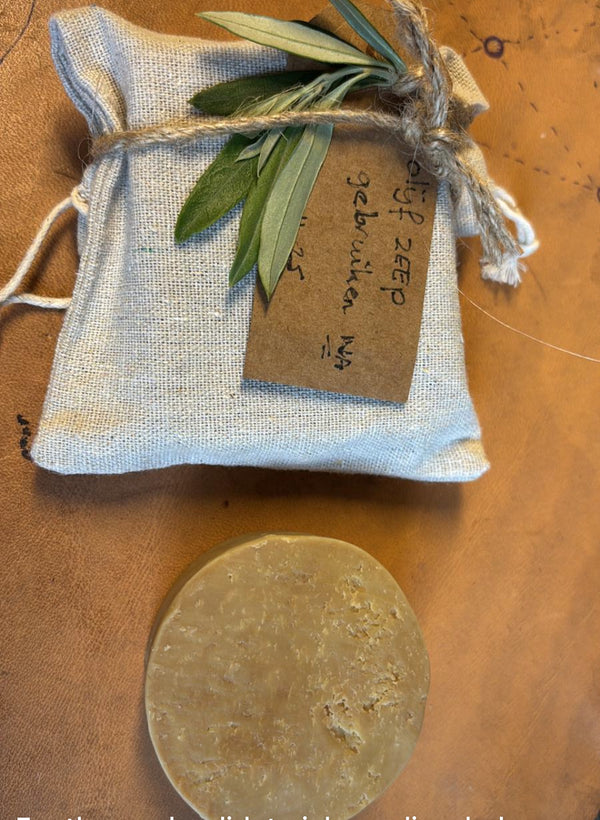
- Use saddle soap only when surface residue remains. After wiping away loose pigment, saddle soap can help clean the surface. Apply it carefully without soaking the leather. Let the piece dry fully, then test it with another clean cloth. A wet surface may disguise transfer or move color, so wait until the leather is dry before judging the result.
- Reserve stronger cleaners for a careful last resort. Acetone has been used to address persistent dye transfer, but it can affect the leather’s surface and color. Don’t apply it broadly without first testing a hidden spot. If used, wipe away surface residue, clean afterward with saddle soap, and let the leather dry before reassessing. Don’t layer wax over continuing transfer: a top coat won’t remove loose pigment underneath.
- Protect the finished surface from avoidable friction. Once the cloth test shows no loose color, proceed with the finish selected for the project. Keep freshly treated leather from rubbing against light clothing until the finish has dried. If you’re assembling materials for a leathercraft project, explore these leathercraft bundles as a starting point.
Fixing dye that continues to bleed
If transfer persists, diagnose the problem before adding another coat of finish. These steps help distinguish loose surface pigment from dye that keeps moving through the leather.
-
Pause finishing and identify where color transfers. Press a clean, dry cloth against the leather, then rub a discreet spot. Check the face, edges, folds, and areas that touch hardware. If color appears only on the cloth, loose surface dye may remain. If a handle or belt edge transfers more than a flat panel, focus your cleanup there instead of recoating the entire piece.
Don’t add wax, oil, or lacquer while the cloth still picks up pigment. A new layer may trap residue beneath the surface rather than remove it.
-
Remove loose residue before using a cleaner. Wipe the surface with a dry cloth, turning it often so pigment doesn’t spread back onto the leather. Once the loose color is gone, saddle soap can help clean remaining surface residue. Use it gently without soaking the hide, then let the leather dry before testing again.
Repeat the cloth test on the same high-transfer spots. A clean center panel doesn’t mean a folded edge or handle is ready for finishing.
-
Treat stronger cleaning as a last resort. Acetone has been used to address dye rub-off, but it can change the leather’s appearance or feel. Test a small, hidden area first and stop if the surface changes. If you use acetone, wipe away residue, clean afterward with saddle soap, and let the leather dry before reassessing.
Don’t soak an entire project in solvent. For example, treat a small problem area on a belt before considering broader application.
-
Condition lightly, not heavily. If the leather feels dry after cleaning, apply several light coats of conditioner or oil rather than saturating it at once. Let each application settle, then check the surface with a clean cloth. Avoid pre-oiling leather before using an oil finish, as oil can draw dye back to the surface and encourage renewed transfer.
Heavy saturation makes the surface harder to assess. Keep each application controlled, especially around seams and edges where product can collect.
-
Seal only after the transfer test passes. When a clean cloth no longer picks up color, apply your chosen finish in light coats, allowing each coat to dry before adding another. If bleeding returns, stop applying finish and repeat the surface test. For a frequently handled item such as a bag strap, check the contact area again once the finish dries.
Finish is the final step, not a substitute for removing loose pigment. Keep the sequence clear: clean, dry, test, then seal.
Testing dye and finishes on scrap leather
Test the dye and finish on a scrap from the same hide before treating your project. To check dryness and colorfastness, press a clean, dry cloth against the test piece and rub. It’s ready for finishing when the leather feels dry and no color transfers.
- Choose a representative scrap. Use an offcut from the project leather, ideally with the same surface and grain. A different hide may absorb dye or finish differently, making the result misleading. If your project includes a smooth panel and an edge, prepare scraps that reflect both. Mark each piece on the back so you can compare tests without mixing them up.
- Match the project’s dye application. Apply the same dye you plan to use, with the same applicator and stroke direction. If the project will receive several thin applications, repeat that sequence on the scrap rather than flooding it once. Let each application dry before adding the next. This shows whether the chosen color builds evenly or leaves streaks on that leather.
-
Check dryness and color transfer. When the scrap appears dry, press a clean white cloth onto the surface and rub a small area. Check both the leather and cloth for dampness, smearing, or transferred pigment. Repeat on an edge or fold if your project has those features. If the cloth picks up color, let the sample dry longer and buff it before testing again.
A dry-looking surface alone doesn’t prove that the color is fast. The cloth test gives you a practical comparison before you finish the full piece.
- Apply the planned conditioner and finish to a separate sample. Keep one dyed scrap unfinished as a color reference, then test the intended conditioning product and top coat on another. Use the same applicator motion and light coating you plan to use on the project. As the finish dries, look for darkening, uneven sheen, tackiness, or changes in the leather’s feel.
- Compare the samples before committing. Place the finished scrap beside the unfinished reference in the light where the project will usually be seen. Check whether wax preserves a natural look or an acrylic finish creates more gloss. Rub the cured sample with a clean cloth and flex it if the finished item will bend, as a wallet panel does. Note the combination that best matches your intended color and surface.
Treat the scrap test as a final check: test the dye and finish on scrap leather before applying them to your project, and test leather dye on a piece of leather before dyeing the full project. The contributor advises against pre-oiling leather before using an oil finish, because the oil may draw dye back to the surface and promote rub-off.
Wax and lacquer top coats
Choose a top coat based on the finish you want and how the leather will be used. Acrylic finishes usually add gloss and surface protection, while wax gives a more natural, matte appearance. Neither makes leather waterproof.
-
Compare water resistance and flexibility
Choose a finish suited to the item’s exposure and movement. A leather finish can help lock in dye and protect against moisture, but it doesn’t guarantee protection from water damage. For a belt or bag that bends during use, test the dried finish on scrap leather and flex it. Check for cracking, stiffness, or color changes before coating the finished piece.
Wax and acrylic finishes behave differently, and formulas vary. Follow the product directions and use a sample to judge how the coating feels once dry.
-
Compare shine and durability
Decide whether your project calls for a glossy surface or a more understated look. Acrylic leather finishes add more shine, while wax and matte finishes retain a more natural appearance. A leatherworker may use a couple of acrylic sealant coats to help prevent rub-off. For a frequently handled item, such as a belt or bag, consider an extra light coat for added durability.
Don’t assume a thicker coat will last longer. Heavy application can look uneven, so compare light coats on your test piece.
- Apply wax to a clean, dry surface. Use a small amount of wax polish and spread it evenly over the leather. Work it into the surface without leaving clumps along seams or edges. Let the wax settle, then buff with a clean cloth. If the piece needs a clearer protective layer first, test the combination on scrap before applying wax over it.
- Build an acrylic or lacquer-style finish in light coats. Apply a thin, even layer with a suitable applicator, using consistent strokes across the panel. Let each coat dry before adding another. Two light coats can build coverage without flooding the leather. Watch for bubbles, streaks, or pooled finish, especially near stitching and folded edges, and refine your technique on scrap first.
- Finish with a final inspection and buff. After the last coat dries, buff the surface gently with a clean, soft cloth. A gentle buff may help reduce excess gloss. Check the face, edges, and high-contact areas for uneven sheen or color transfer. If you’re planning another leathercraft project, browse leathercraft bundles as you gather materials for your workbench.
Hab-To Leather House: Vegetable Tanned Leather
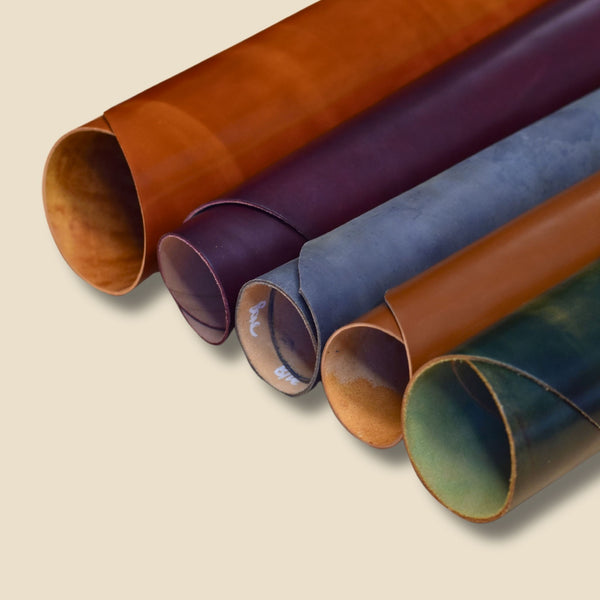
Hab-To Leather House offers vegetable-tanned leather for makers planning a dyed leather project from the hide up. Choosing the leather is part of the finishing process: use an offcut from your project to test dye absorption, color, and the top coat before treating the finished piece. Explore vegetable-tanned leather as a material option for your next project.
A scrap lets you compare wax and lacquer on the same leather, then assess color and surface feel after drying. That preparation can help you choose carefully before committing to your workpiece. Hab-To Leather House also offers leatherworking tools, leather hardware, and crafting bundles for leathercraft projects.
Visit hab-to.com to explore the leather selection or contact Hab-To Leather House.
Make your next leather project your own
Build on what you learned at the workbench. Keep a labeled test scrap with your chosen dye and finish combination, then use it as a reference when planning a matching piece or future repair.
Related reading
- How to test leather dye and finishes on scrap
- How to choose between wax and lacquer finishes
- How to prevent dye transfer on finished leather
For your next project: If you’re gathering materials and tools for a new build, explore Hab-To Leather House’s leathercraft bundles as a practical starting point.
Keep experimenting carefully. Each thoughtful test helps you develop a finish that suits your craft.
Frequently Asked Questions
How long should leather dye dry before sealing?
Wait until the dye is completely dry, then judge the surface instead of relying on a fixed number of hours. Drying varies with the dye, leather, and how heavily the color was applied. Press a clean cloth against an inconspicuous area and rub: dampness or transferred pigment means the piece needs more drying time. A cool, damp room can slow drying too, so allow extra time before finishing.
How do you apply leather sealer without streaks or dark spots?
Apply a thin, even coat and keep your strokes consistent across the panel. Load the applicator lightly, work from edge to edge, and avoid stopping midway through a section, where overlapping wet finish may leave a visible mark. Don’t let sealer collect in stitching, corners, or folded edges. If you see pooling, address it while the finish is still workable and follow the product directions.
How many coats of leather sealer should you apply, and how long between coats?
A couple of light coats are commonly used for acrylic sealant; let each coat dry before applying the next. The right interval depends on the finish and conditions, so follow the product directions and wait until the surface is dry to the touch. A heavily handled strap may need more protection than a decorative panel, but keep extra coats thin rather than pooled or thick.
Should you buff dyed leather before applying a sealer?
Yes. Once the dye is fully dry, buff the surface with a clean, dry cloth to remove loose pigment before sealing. Check the cloth as you work and switch to a clean area when it picks up color. Pay attention to edges and seams, where residue can collect. If pigment continues to transfer, keep cleaning and testing instead of covering it with finish.
How do you seal aniline, vegetable-tanned, suede, or nubuck leather after dyeing?
Test the dye and finish on an offcut of the same leather, since surface and absorbency affect the result. Aniline and vegetable-tanned leather can accept color differently, so compare the finished sample for changes in shade or feel. Suede and nubuck have a nap that a surface coating may flatten or alter. Use a finish intended for that leather type, or leave the nap uncoated and test care products separately.
Disclaimer
All our blog articles are made for information purposes only we dont take responsability for any content from third parties.