

How to Avoid Looking Like a Beginner in Leathercraft
A polished leather project doesn’t start with an expensive tool collection. It starts with a few consistent decisions. If your work looks rough despite careful effort, you’re not alone. Learning how to avoid looking like a beginner often comes down to spotting small habits that undermine the finish.
Better tools or premium leather won’t fix uneven edges, wandering stitches, or hardware that sits off-centre. Considered work comes from preparation and practice. The right material helps, but careful cutting, steady construction, and deliberate finishing matter just as much.
In this guide, you’ll learn which beginner habits show most clearly in a finished piece and how to replace them with a repeatable process. We’ll cover choosing suitable leather and essential tools, keeping cuts and stitching consistent, and refining edges and details without overcomplicating the work. You don’t need every tool on the bench. You need a clear plan, materials that suit the project, and patience to finish each step with care.
Key Takeaways
- Spot visible signs of rushed or inconsistent work, from uneven details to choices that don’t suit the design.
- Follow a steady sequence from planning and marking through assembly and finishing to stop small mistakes from building.
- Learn how to avoid looking like a beginner by matching leather and design details to the project’s purpose and your current skills.
- Practise one technique at a time, and gather only the tools and materials needed for that practice project.
- Explore vegetable-tanned leather, tools, hardware, and beginner bundles, with learning support available through Hab-To.
What Makes a Leathercraft Project Look Like a Beginner Made It?
This guide is about the appearance of leatherwork, not how a person dresses while travelling. A beginner-looking project usually shows visible inconsistency: preparation seems rushed, details compete with the design, or a technique looks different from one part to the next. Those signs aren’t a verdict on the maker. They’re clues about what to practise next.
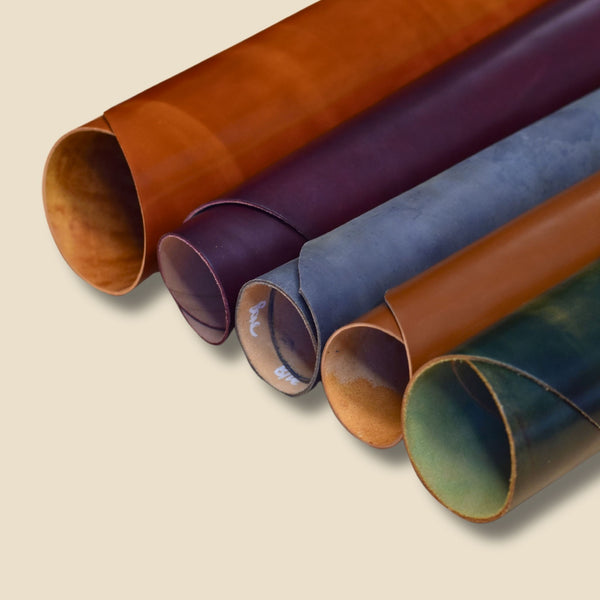
A simple card sleeve can look refined without elaborate tooling or complicated construction. Accurate measurements, tidy edges, and controlled stitching give even a straightforward design a considered feel. Good leather supports the result, but it can’t correct an inaccurate cut or hide a misaligned panel. A suitable choice, such as vegetable-tanned Pueblo leather, works best when paired with careful layout and execution.
For a practical look at beginner tools and common choices, watch this leathercraft starter-kit review:
Leatherwork involves more than stitching. Carving, stamping, and molding each leave their own visual marks, so the finish should suit the method and design. The overview of Leather Crafting Techniques offers useful context for seeing how different approaches shape a piece.
Which visible details make a project feel unfinished?
Look first at repetition. Stitch holes that drift from the edge, uneven spacing, or thread pulled tighter in some places than others can make a seam feel unsettled. Ragged edges draw the eye away from the shape, while visible glue marks and panels that don’t line up make construction look hurried. These are fixable skills, not reasons to abandon a project.
Handmade character can include small variations that feel deliberate and suit the design. The difference is whether details look intentional: a steady stitch line reads as a choice, while spacing that changes without a pattern distracts. Inspect the piece from a short distance, then close up. Each view reveals different issues.
Why polished work is not about owning more tools
A compact set of suitable tools can support accurate, repeatable work. What matters is knowing how each tool behaves and practising with it before using it on the final piece. Familiarity helps you control pressure, placement, and movement. A growing collection alone won’t make cuts straighter or seams more even.
Before buying something new, name the problem it needs to solve. Is the tool necessary for this design, or does it simply feel reassuring to own? Choose equipment to meet a real project need, then give yourself time to use it well. That’s a steadier path for anyone learning how to avoid looking like a beginner.
How Preparation and Construction Create a More Professional Finish
Clean results begin before assembly, with layout and preparation. A careful workflow gives each part a clear purpose and catches mistakes while they’re still easy to correct. The practical answer to how to avoid looking like a beginner is to make decisions in sequence and check them before moving on.
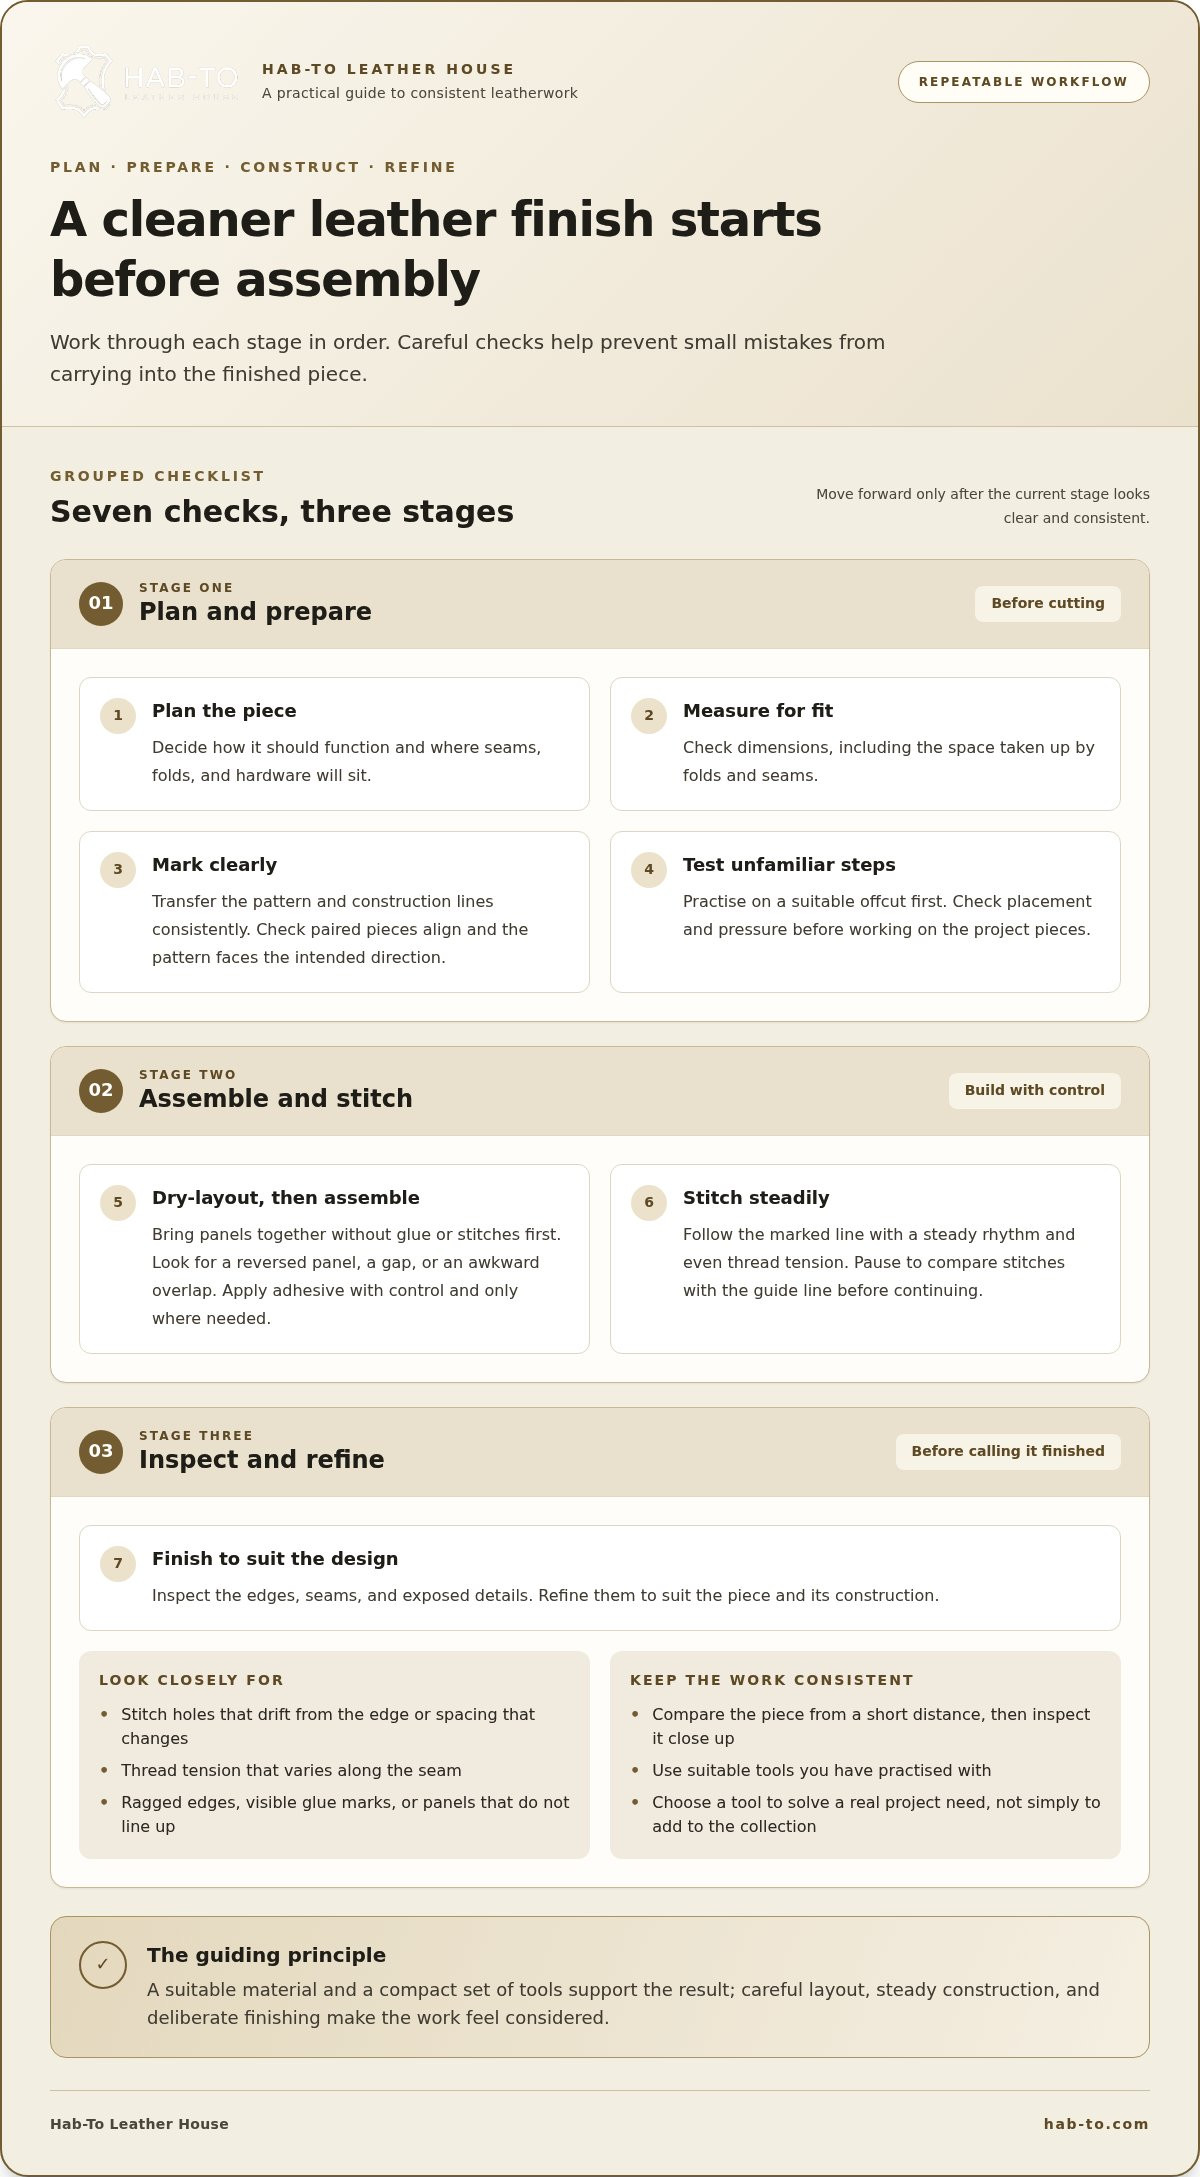
Use this order as a repeatable guide:
- Plan: Decide how the piece should function and where its seams, folds, and hardware will sit.
- Measure: Check dimensions against the intended fit, including space taken up by folds and seams.
- Mark: Transfer the pattern and construction lines clearly and consistently.
- Test: Try unfamiliar steps on a suitable offcut before working on the project pieces.
- Assemble: Bring the panels together in a dry layout first, then apply adhesive with control.
- Stitch: Follow the marked line with a steady rhythm and even thread tension.
- Finish: Inspect the edges, seams, and exposed details, then refine them to suit the design.
Each stage protects the next. If a template is slightly off, the error can carry through to the panel shape, seam placement, and final fit. Check that paired pieces align and that the pattern is oriented as intended before cutting. Accurate marks guide edges, holes, folds, and panels, helping the finished construction look deliberate rather than improvised.
Plan and mark before cutting
Before cutting, compare the pattern dimensions with the finished piece you want. Check the seam allowance, fold positions, and how adjoining panels meet. Then arrange the pieces without glue or stitches. This dry layout can reveal a reversed panel, a gap, or an awkward overlap while you can still adjust the pattern. For repeatable impressions or layout marks, browse the leathercraft tools collection for tools suited to the work.
Leather types behave differently, so consider how your material choice may affect shaping and assembly. Choosing the Right Leather for Your Project offers an overview of leather types and their applications. Whatever you select, practise unfamiliar marking or construction steps on an offcut first. A test piece lets you check placement and pressure without risking the cut panels.
Build consistency into stitching and assembly
As you stitch, keep your hand movements and thread tension steady across the seam. If one section is pulled tight and another left loose, the seam can look uneven or draw the panels out of alignment. Pause to compare the stitches with your guide line. A short check is easier than correcting a long stretch later.
During assembly, align the panels carefully before joining them. Apply adhesive only where needed and keep it from spreading beyond the seam area. Once the pieces are joined, check the edge and shape before stitching. For a focused set of supplies for stitch practice, explore the stitching bundles alongside the steps you’re learning.
How to Choose Leather and Details That Suit Your Project
A material choice looks considered when it serves the object. Start with the job the piece needs to do, the shape you want it to hold, and the techniques you feel ready to handle. A structured case, a flexible pouch, and a strap place different demands on leather. Choosing a prestigious name alone won’t make a project look polished if the material’s character works against its purpose.
Think through four qualities before you commit: leather type, thickness, temper, and finish. Thickness affects how the piece folds and feels; temper describes how firm or supple it is; finish influences the surface and appearance. Match those qualities to the design. A piece that needs to hold its shape calls for different material decisions than one intended to bend comfortably. The right choice supports clean construction instead of making it harder.
Match the leather to the object
Ask what the project needs most: structure, flexibility, or a particular surface character? Then consider your current skill. A simple design and a material you can cut, mark, and stitch confidently give you room to focus on execution. Before starting, compare leather options with the intended use in mind, and use this guide to buying leather online to think through material selection.
Natural variation is part of working with leather. Grain, marks, and changes in surface can give a piece character, but inspect the hide before cutting. Decide which features you want to keep visible and place pattern pieces accordingly. A noticeable mark can become an intentional detail when planned into the design; an unexpected feature on a focal panel may distract from it.
Make hardware and colour choices feel deliberate
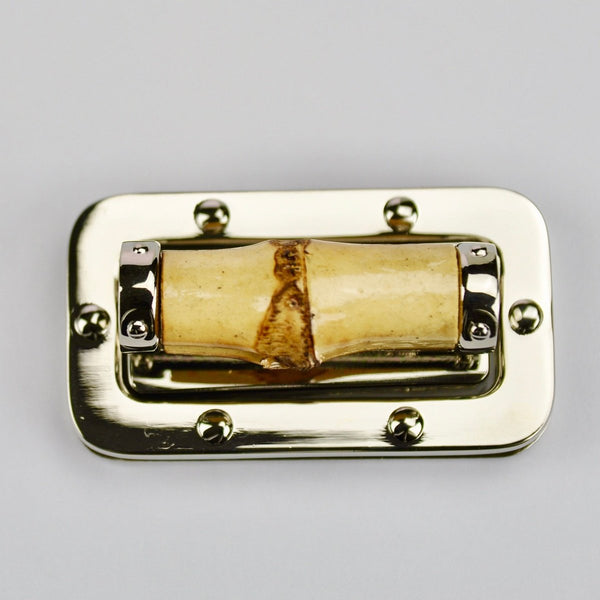
Choose hardware for its function and how it relates to the design. A closure, buckle, or fastener should feel at home on the piece, not like an unrelated afterthought. Keeping finishes consistent helps the details work together. Thoughtful placement matters too: matching the spacing of hardware across a pair of tabs, for example, can make a modest design feel composed.
Colour deserves the same restraint. A main leather colour, complementary thread, and consistent hardware finish can create a clear visual rhythm. Too many competing accents can pull attention away from the shape and construction. Before attaching anything, lay the components together and check their scale, colour, and placement as a group. Browse leather hardware options with the project’s function and overall design in mind.
Good choices reduce guesswork; practice turns them into judgement. If you’re gathering supplies for a first project, explore beginner bundles to bring relevant materials and tools together.
What to Practise and What You Will Need for a Cleaner Result
Improvement comes faster when each practice piece has one clear purpose. Focus on marking, stitching, edge work, or assembly rather than trying to perfect every technique at once. That makes it easier to see what changed between attempts and where your hands need more control. If you’re learning how to avoid looking like a beginner, use a small project to turn that learning into visible progress.
Choose a manageable practice project
A simple two-panel card sleeve is a useful exercise. Its pattern and construction stay clear, while you practise alignment, a straight stitch line, and neat edges. Repeat one technique on an offcut before using it on the project. When you finish, compare the result with your first attempt. Small improvements are easier to recognise when the project stays manageable.
What you will need
For this practice sleeve, gather only what supports cutting, joining, stitching, and finishing:
- Leather offcuts suitable for a small sleeve
- A simple paper pattern, ruler, and marking tool from the leathercraft tools collection
- A cutting surface and sharp craft knife
- Stitching chisels, needles, and thread
- Leather glue for holding the panels in place during assembly
- An edge beveler and Tokonole for edge practice
Choose tools for the steps you plan to practise, not for a larger project you haven’t started. Beginner starter bundles offer one way to gather relevant supplies without turning practice into a hunt for every specialist tool.
Use a short quality check before finishing
Inspect the sleeve in good light before calling it complete. Look along the stitch line for changes in spacing or tension, then compare the panels for alignment. Check for adhesive where it shouldn’t show and scan the edges for rough patches. Turn the piece over, too. A seam can look tidy on one side while showing uneven tension or a misplaced mark on the other.
Pay close attention to corners, transitions, and hardware placement. Take a few reference photos from the same angles after each practice attempt. Comparing images makes spacing and alignment easier to judge than relying on memory. Correct flaws that interrupt use or distract from the design, but don’t erase every natural mark. Leather has its own character; the aim is a deliberate finish, not a piece stripped of individuality.
Keep a short note beside each photo: what you practised, what improved, and what you’ll adjust next time. That record turns each small project into a useful lesson and helps you choose tools and materials with purpose.
How Hab-To Helps Beginners Build Leathercraft Confidence
Confidence grows through thoughtful choices and steady practice, not instant expertise. Hab-To Leather House brings together learning resources and leathercraft supplies so you can build on the techniques in this guide, one project at a time. Vegetable-tanned leather, tools, hardware, and curated beginner bundles can help you focus on the work in front of you rather than assembling an oversized toolkit.
Start with the skill you want to strengthen. If you’re practising a small stitched project, choose materials and tools that support accurate marking, controlled assembly, and consistent stitching. Keep the design manageable, then review what worked and what you want to adjust on your next attempt. That is a practical way to learn how to avoid looking like a beginner without expecting a bundle or a single tool to do the learning for you.
Start with supplies that match the project
A curated bundle can bring relevant supplies together for a beginner, making it easier to get started without buying equipment for techniques you don’t plan to use. Match the contents to your project: a stitching exercise calls for different supplies than edge-finishing practice. Choose with purpose, and let the work guide what you add as your skills develop.
There’s no minimum order requirement at Hab-To Leather House, so you can choose quantities suited to your needs. Start with supplies for a focused practice piece rather than feeling you need to stock a full workshop. Consider the pattern, construction steps, and finish you’re aiming for, then select materials and hardware that support those decisions.
Use guidance to keep learning
Questions often come up once you move from a pattern to the bench. Mike offers free 15-minute video consultations to discuss leather or project questions and help you plan your next steps. Bring a clear question, such as how a material might suit your intended project or what to consider before trying a technique.
Masterclasses offer another way to learn leathercraft techniques from experienced makers. Use a class to deepen your understanding, then apply one idea at a time in your own practice. The goal isn’t to skip the learning curve. It’s to make that curve easier to follow with sound materials, relevant tools, and advice that helps you make considered choices.
Explore beginner crafting bundles to find supplies for your next practice project.
Make Your Next Project a Small Step Forward
Your next piece doesn’t need to prove everything you’ve learned. Choose one detail to improve, then give yourself room to practise it. A focused goal makes progress easier to notice and gives each project a clear purpose.
Keep learning beyond the workbench with these related guides:
- Explore leather stamping tools and techniques to make repeatable marks part of your design.
- Learn how to choose components in this guide to leather hardware.
Practice supplies: Build your next focused exercise around stitching supplies or Tokonole bundles for edge work, choosing only what suits the skill you want to practise.
Leathercraft grows through patient repetition and choices made with care. Start with a project that feels achievable, then let each finished piece teach you what to try next.
Frequently Asked Questions
Can a beginner make leathercraft that looks professional?
Yes. A beginner can make a polished-looking piece by choosing a design they can complete carefully and checking how the parts fit before final assembly. Professional-looking doesn’t have to mean complex or decorated. A plain, well-proportioned item can feel more considered than an ambitious project with details that don’t quite work together. To learn how to avoid looking like a beginner, set one clear quality goal for each project and build from there.
What is the most noticeable sign of beginner leatherwork?
Usually, it’s a visible inconsistency that draws attention away from the design. A seam that curves unexpectedly or a closure that sits off-centre can change how the whole piece reads, even if the rest is carefully made. Ask someone to glance at your project and say what they noticed first. Their answer can help you identify the most distracting detail to address next, rather than trying to fix every small mark at once.
Do I need expensive tools to make leathercraft look good?
No. Choose tools for the operation you’re practising, then learn to use them consistently before adding more. For example, a reliable ruler and marking tool can help with layout, while stitching tools matter when your project includes hand-sewn seams. Avoid buying equipment for techniques you don’t plan to try yet. Explore leathercraft tools by task and build a useful kit as your projects develop.
How can I improve my leather stitching as a beginner?
Practise on scrap before stitching a project seam. Mark a short line, make a sample seam, then look at both faces and the edge to see whether the stitches appear consistent. Change one thing at a time, such as how you hold the work or move the needles, so you can tell what helps. Keep your practice pieces for comparison. A small collection of samples makes progress easier to judge than memory alone.
Does better leather automatically make a project look more professional?
No. Suitable leather can support a design, but it won’t correct poor proportions or a closure that doesn’t suit the object. Before cutting, check that the material’s surface and character work across the pieces you’ll use together. For instance, consider how grain direction might look on adjoining panels. A quick layout on the hide can help you make a more coherent choice before cutting the pattern.
How do I choose a first leathercraft project?
Choose a project with clear instructions, a small number of parts, and techniques you’re ready to practise. Review the steps before starting: if the design depends on several unfamiliar operations, set it aside until you’ve tried them separately. A simple bookmark, for example, can focus your attention on shaping and edge work without complex assembly. Pick something useful enough to finish, but manageable enough to teach you a skill you can carry forward.
Disclaimer
All our blog articles are made for information purposes only we dont take responsability for any content from third parties.