


How to Photograph Leather Goods: The Artisan’s Guide to Capturing Quality
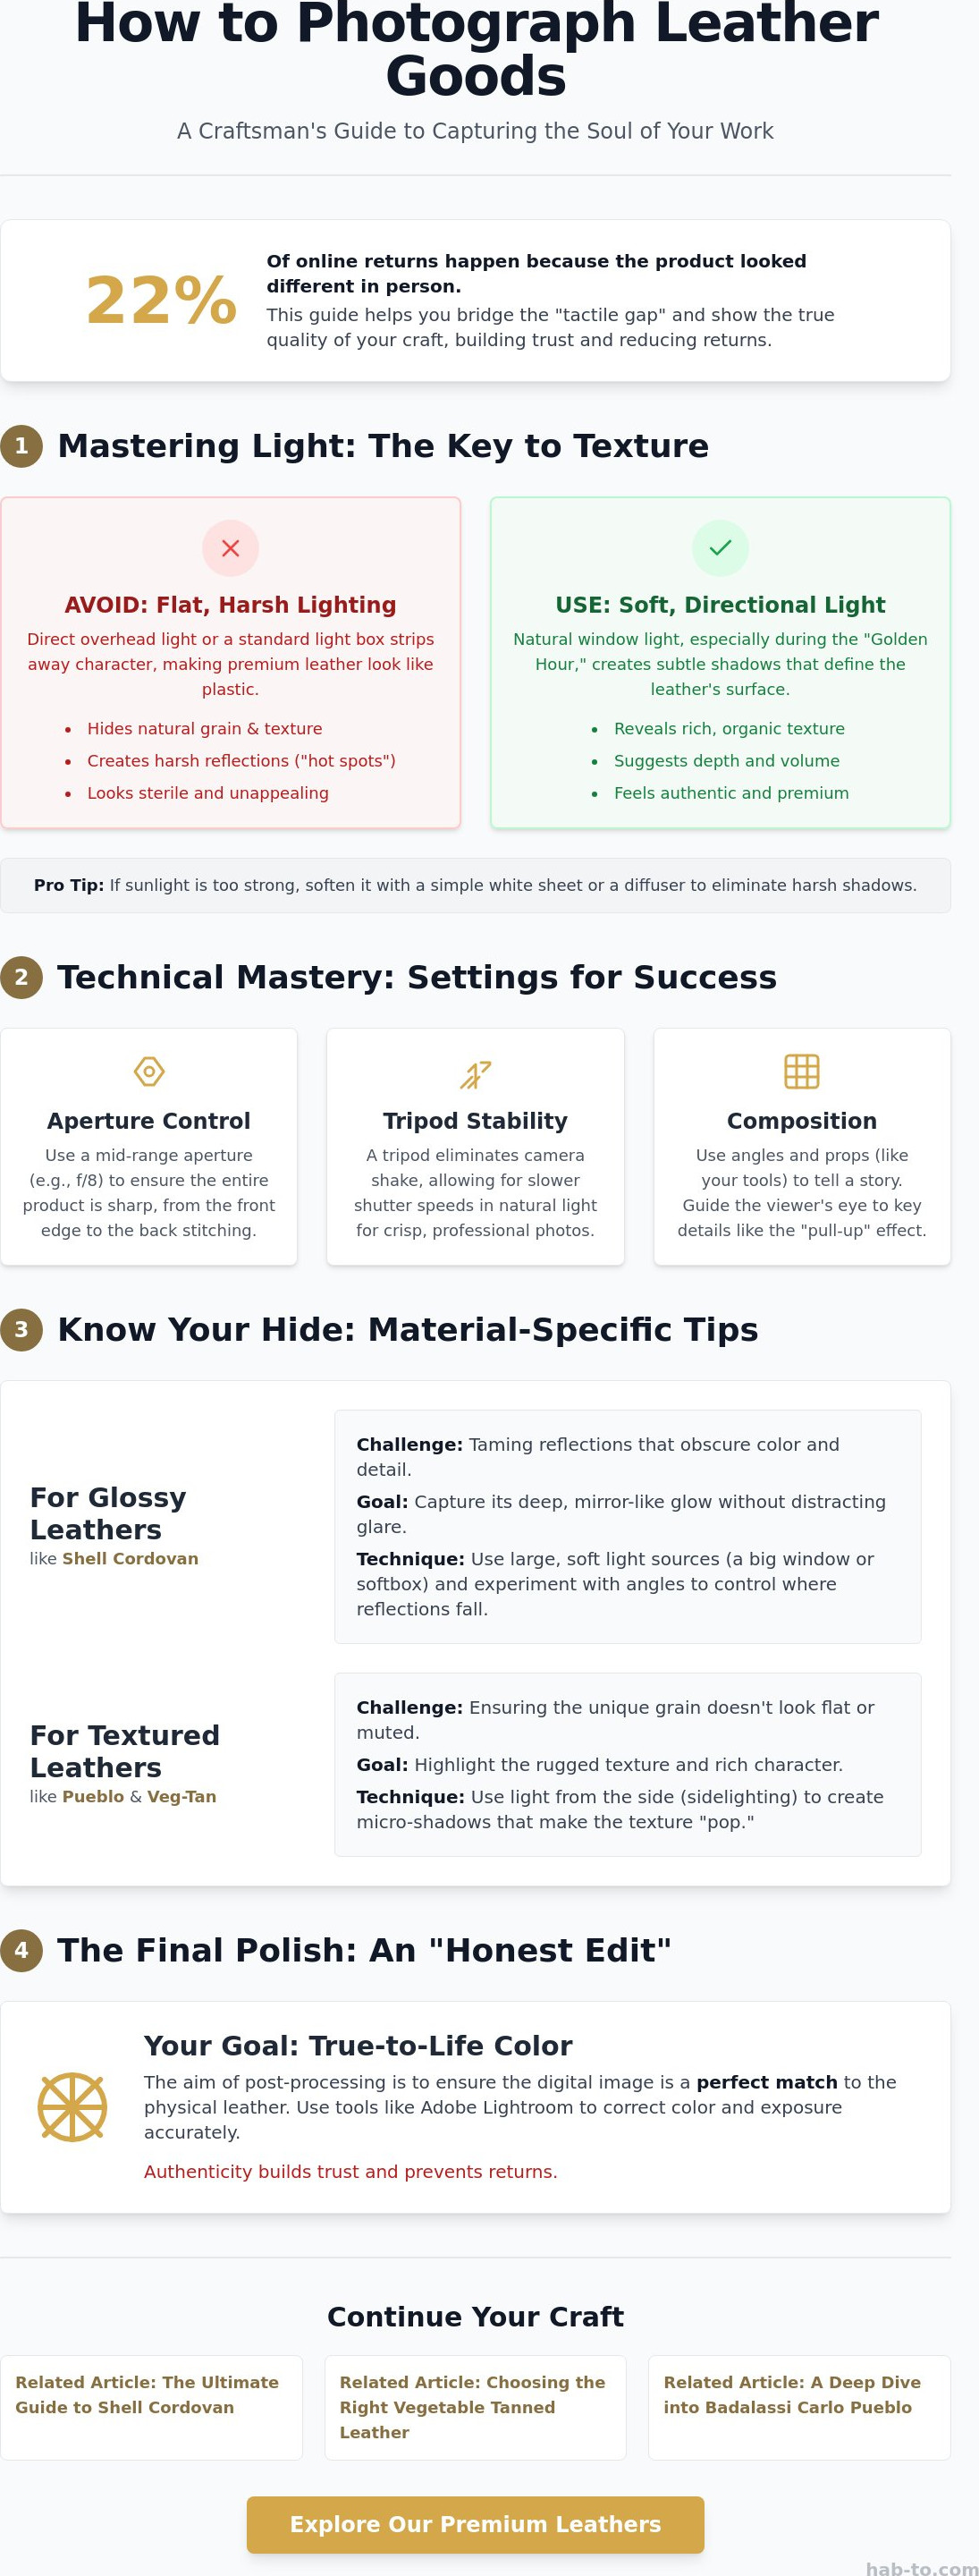
Did you know that 22% of online returns occur simply because a product looked different in person than it did on the screen? For an artisan, that statistic is a heartbreak. You spend hours selecting the perfect piece of Pueblo leather or Shell Cordovan, only to have the final photo look flat, plastic, or dull. It's frustrating when a lens fails to capture the tactile depth and rich character of your work.
I understand that struggle. You want your customers to feel the grain and smell the tan through their device. In this guide, you will learn how to photograph leather goods to showcase the texture, depth, and soul of your craftsmanship. We'll move past "good enough" shots toward high-conversion imagery that builds real trust and represents your brand with the respect it deserves.
We are going to cover how to handle tricky reflections on shiny hides and how to use tools like Adobe Lightroom Classic 15.4 to represent the true colors of vegetable tanned leather. Whether you are using a high-resolution Sony α7 IV or a simple studio setup with your leatherworking tools as props, you'll discover how to create a consistent brand aesthetic that honors the tradition of your craft.
Key Takeaways
- Learn how to bridge the "tactile gap" by using soft, directional lighting that invites the viewer to feel the organic texture of the hide.
- Discover the essential camera settings for how to photograph leather goods, focusing on aperture control and tripod stability for professional sharpness.
- Master specialized techniques for taming reflections on glossy Shell Cordovan while highlighting the unique grain of Pueblo leather.
- Understand why natural workshop light is superior to harsh studio setups for preserving the authentic character of vegetable tanned leather.
- Learn the "Honest Edit" approach to colour correction to ensure your digital images perfectly match the physical leather in your workshop.
The Soul of the Material: Why Leather Photography Requires a Unique Approach
Leather isn't a static object like plastic or metal. It's a living material that carries the history of the animal and the expertise of the tannery. When you are learning how to photograph leather goods, you must look beyond the simple shape of a bag or wallet. You are capturing an organic surface that breathes, ages, and reacts to its environment. Generic product photography rules often fail here because they treat every item with the same clinical, flat lighting that strips away the material's character.
This creates what I call the "tactile gap." Since your customer can't feel the weight of the hide or run their thumb over the grain, your lens must translate those physical sensations into pixels. A successful photo makes the viewer imagine the scent of the workshop and the smoothness of the finish. It tells the story of the hide, bridging the distance between the screen and the physical product. To better understand this concept, watch this helpful video:
Translating Texture into Pixels
Light is your most important tool for defining grain. If you use a standard light box, you risk making premium leather look like synthetic imitation. Flat lighting is the enemy of high-end craft because it hides the very details that justify a premium price. Instead, use directional light to create subtle shadows that define the peaks and valleys of the leather's surface. This technique is essential for oily leathers to showcase the "pull-up" effect, where the oils shift and change color under pressure. By mastering the principles of photographic composition, you can guide the viewer's eye to these specific tactile details, ensuring they don't miss the quality of your work.
The Role of Patina in Visual Storytelling
One of the greatest joys of owning high-quality leather is the patina. When you photograph new vegetable-tanned goods, you aren't just showing what the item looks like today; you're showing its future. Use side-lighting to reveal natural growth marks and fat wrinkles. These aren't flaws; they are the heritage of the material. For example, when working with Shell Cordovan, the lighting must be precise to capture that deep, mirror-like glow without washing out the color. Whether you are highlighting the rugged, sandpaper-like texture of Badalassi Pueblo or the refined elegance of Maryam Shell Cordovan, your goal is to let the material speak for itself. Authenticity builds trust. In fact, a 2026 study found that 22% of product returns occur because the item looked different in person than in the photos, so capturing the soul of the material is a smart business move.
Setting the Stage: Lighting and Backgrounds for Professional Results
Lighting is the difference between a product that looks like a cheap imitation and one that commands a premium price. When you are figuring out how to photograph leather goods, you don't need a high-end studio. In fact, many of the best artisan photos are taken with simple window light. The key is balance. While studio lights offer consistency, they can often feel sterile. Natural light, when diffused properly, brings out the warmth and organic feel of the hide.
The "Golden Hour" isn't just for landscape photographers. For leatherworkers, soft and directional light is king. It wraps around the edges of a wallet or bag, creating soft gradients that suggest volume. If the sun is too harsh, a simple white sheet or a professional diffuser can soften the shadows. You don't need a $2000 lens to capture quality. A sharp prime lens or even a modern smartphone camera can produce stunning results if your lighting is intentional. Your goal is to avoid "hot spots," those bright, distracting reflections that occur on waxy or polished surfaces like Maryam Vaccheta.
Mastering Directional Lighting
Position your light source at a 45-degree angle to your product. This specific angle is a secret weapon for revealing grain depth. It creates tiny shadows behind the texture of the leather, making it pop off the screen. For dark hides that tend to absorb too much light, use a simple white bounce card on the opposite side to fill in heavy shadows. This keeps the details visible without washing out the character. When shooting hardware or zippers, slightly adjust the angle to minimize glare, ensuring the focus remains on your craftsmanship.
Choosing Backgrounds that Complement the Craft
Learning how to photograph leather goods effectively means understanding that your background should support the product, not compete with it. For rugged items made from Badalassi Pueblo, a textured wood surface adds to the "maker" vibe. For more refined pieces, a clean, minimalist backdrop works best. Stick to neutral tones like grey, beige, or muted wood. These colors ensure that the camera's sensor captures the most accurate representation of the leather's true hue. This accuracy is vital, as 22% of product returns in 2026 were attributed to items looking different in person than they did in photos. Including workshop elements like brass hardware or a stray cutting tool can build an authentic story around your brand. If you are looking to upgrade your materials before your next shoot, you might want to consider the rich tones of Virgilio Pueblo leather.
Technical Mastery: Composition and Camera Settings
Once you've tamed your workshop lighting, the next hurdle in how to photograph leather goods is mastering your camera’s technical interface. Many generic photography tutorials suggest shooting at the widest possible aperture, like f/1.8, to get a blurry background. For leathercraft, this is often a mistake. If your depth of field is too shallow, you might lose the crispness of your stitch lines or the texture of the grain. Try stopping down to f/4 or f/8. This ensures the entire product remains sharp while still providing enough separation from the background to make the item pop.
Sharpness is non-negotiable. Use a tripod. This allows you to keep your ISO at 100, which prevents digital noise from muddying the beautiful grain of a hide like Virgilio Vaccheta. A slow shutter speed on a tripod is always better than a grainy, handheld shot. While you are at it, check your white balance. Leather is notoriously difficult for auto-white balance settings to handle. Don't let your "Natural" veg tan look like an "Orange" tan on screen. Use a grey card or a custom setting to ensure the "Cognac" in your photo matches the "Cognac" in the box.
Composition is where you guide the customer’s eye. Use the Rule of Thirds to lead the viewer toward your "Hero" detail. This is usually a perfectly executed corner or a flawless stitch line. By placing these details on the intersection of your grid lines, you create a sense of balance and intent. It shows you aren't just taking a picture; you're documenting a piece of art.
Macro Photography for Detail Work
Macro shots are your proof of quality. They are the number one way to build trust with online buyers who can't touch your work. Use a macro lens or setting to capture the precision of hand-stitched seams. Show off the glass-like finish of your burnished edges and the fine nap of a premium suede. When you zoom in this close, you are telling the customer you have nothing to hide. Highlighting the rugged character of Maryam Vaccheta through a macro lens reveals the depth that flat lighting would otherwise kill.
Flat Lays and Lifestyle Angles
The "Everyday Carry" (EDC) shot is a powerful storytelling tool. Place your wallet next to keys or a pocketknife to indicate scale. This helps the viewer visualize how the piece fits into their own life. When you are learning how to photograph leather goods for a catalog, angle wallets and bags to show internal capacity. A customer needs to know how many cards fit or how the gusset expands. Use props that reflect your brand’s aesthetic, like vintage brass tools or thread snips, but keep the focus on the leather. Props should provide context, not distraction.
Material-Specific Challenges: From Shell Cordovan to Pueblo
Every hide tells a different story. If you apply the same lighting setup to every piece, you'll fail to capture the nuance that makes high-end leather worth the investment. Mastering how to photograph leather goods requires a deep understanding of how light interacts with specific tannages. A glossy shell requires the opposite optical approach of a matte, scuffed hide. You must adapt your technique to the material on your workbench.
The Shell Cordovan Strategy
Shell Cordovan is the king of leathers, but it is a nightmare for the unprepared photographer. Its high-gloss finish acts like a mirror, reflecting every light bulb and tripod leg in your room. Never use a direct flash. Instead, use large, soft light sources to create smooth gradients across the surface. This highlights the deep, multi-tonal hues of Maryam Shell Cordovan without creating harsh, white "hot spots." You want to capture that liquid glow that defines the material. Use a large piece of white foam board to create a clean reflection on the shell's surface, which helps define its shape and luster.
Bringing Out the Grain in Pueblo and Milled Hides
On the other end of the spectrum, you have matte leathers like Badalassi Pueblo. The beauty of Pueblo lies in its unique, scuffed texture. To capture this sandpaper-like finish, use top-down or side lighting to cast tiny shadows into the grain. I often suggest underexposing your shot slightly. This emphasizes the ruggedness and prevents the camera sensor from smoothing out the intentional "imperfections" of the hide. Pueblo is notoriously hard to edit because its colors are so complex. If you are struggling with accuracy, start with a high-quality base like Virgilio Pueblo leather and focus on getting the white balance perfect in-camera.
Don't forget the oily richness of Maryam Vaccheta. This leather has a natural luster that suggests durability and a future of beautiful patina. Capture this by using soft, directional light that grazes the surface. It should look supple, not greasy. When you are learning how to photograph leather goods with heavy grain or exotic textures, your goal is to maintain detail in the scales or deep grooves. Use the macro techniques we discussed earlier to prove the authenticity of the material. Precision builds trust.
Ready to put these tips into practice? Explore our full range of premium Italian leathers to find the perfect material for your next photoshoot.
Post-Processing and Storytelling: The Final Polish
The work doesn't end when you click the shutter. In fact, the digital darkroom is where you ensure the tactile quality of your craft translates to the screen. Many photographers fall into the trap of over-editing, but for an artisan, the goal is the "Honest Edit." If you use software like Adobe Lightroom Classic 15.4 to scrub away every natural growth mark or fat wrinkle, you're stripping the soul from the material. Authentic leather has a history. Your photos should celebrate that, not hide it behind a plastic-like digital mask.
Colour correction is your most critical task in how to photograph leather goods. We've already seen that a huge percentage of returns happen because of colour mismatches. When you're editing a piece made from Virgilio Vaccheta, you need the "Cognac" on your monitor to be identical to the hide on your bench. At Hab-To, we believe in connecting our 160-year heritage of leather expertise with your modern digital presence. This means your photos must act as a trustworthy bridge between our tanneries and your customers.
Essential Editing Tweaks for Leather
Use the "Clarity" and "Texture" sliders with extreme caution. While they can make the grain pop, cranking them too high makes the leather look harsh and artificial. Focus on subtle adjustments that enhance the natural depth of the hide. Manage your saturation carefully to avoid "neon" leather syndrome. If the tones look too vibrant, they lose their organic feel. Take the time to remove distracting dust motes or stray threads from the background, but leave the leather’s pores visible. If the viewer can't see the pores, they won't believe it's real leather.
Visual Sourcing: Highlighting Premium Materials
Your choice of materials is part of your brand's story. Mentioning your supplier adds a layer of transparency and quality assurance that customers appreciate. When you show a roll of Maryam Shell Cordovan next to a finished wallet, you're proving the heritage of the item. Use an "unboxing" aesthetic or a "Maker’s Journal" style to show the raw edges and the tools used in the process. This consistent visual language builds a brand that feels personal and expert. It shows you aren't just selling a product; you're sharing a piece of a long-standing tradition. By mastering how to photograph leather goods with this narrative focus, you turn a simple transaction into a lasting connection.
Honoring the Craft Through the Lens
Mastering directional lighting to reveal grain and maintaining honest colour correction are the foundations of high-conversion imagery. When you bridge the tactile gap with sharp macro details, you aren't just selling a product. You're inviting the customer into your workshop. You now have the technical and creative blueprint for how to photograph leather goods with professional precision. It's time to let your craftsmanship speak for itself through every pixel.
To create images that truly resonate, you need materials with a story worth telling. We bring over 160 years of family experience to your workbench as direct importers of world-class Italian tanneries like Maryam and Badalassi. We understand the needs of the modern maker, which is why we offer no minimum order requirements for independent crafters. Quality materials deserve quality presentation, and you are now equipped to deliver both. Elevate your craft with premium vegetable tanned leather from Hab-To and start capturing the soul of your work today. We can't wait to see what you create.
Frequently Asked Questions
Do I need a professional DSLR camera to photograph my leather goods?
You don't need an expensive DSLR to produce high-quality images of your work. Modern smartphones or entry-level mirrorless cameras are more than capable of capturing the rich texture of fine hides. The secret lies in your lighting and stability rather than the price of your lens. Using a tripod ensures your shots remain sharp even at lower light levels, allowing the camera to record every detail of the grain without digital noise.
How do I avoid reflections on shiny leather like Shell Cordovan?
Taming reflections on glossy surfaces like Shell Cordovan Leather requires large, diffused light sources. Never use a direct flash, as it creates harsh white spots that obscure the material’s deep colour. Instead, use a white foam board to reflect a soft, even light onto the surface. This creates a clean, intentional glow that highlights the leather's luster while keeping your camera gear out of the reflection.
What is the best background for leather product photography?
The best background is one that complements the leather without distracting from it. For rugged materials like Pueblo Leather, textured wood or stone adds to the artisanal vibe. For refined items, a clean, neutral grey or beige surface is ideal. These neutral tones are essential because they don't cause colour casts, ensuring the hide looks exactly as it does in your workshop.
How can I make the colour of the leather look accurate in photos?
Achieving accurate colour starts with mastering your white balance settings. Learning how to photograph leather goods effectively means moving away from auto mode, which often struggles with the warm tones of Italian Leather. Use a grey card to set a custom white balance for your specific workshop lighting. This ensures your "Cognac" or "Tobacco" hues look consistent across every screen, which is vital for reducing returns caused by colour mismatches.
Should I edit out natural scars and marks on the leather?
You should keep natural hide markings in your final photos to maintain authenticity. These growth marks and fat wrinkles are proof of a genuine, high-quality material like vegetable tanned leather. Over-editing these details makes your product look synthetic or "plastic" to a discerning customer. Embracing these unique characteristics builds trust and tells a story of a living material that will age beautifully over time.
How many photos should I take for a single product listing?
Aim for 4 to 6 high-quality images per listing to maximize your conversion rates. When mastering how to photograph leather goods for e-commerce, remember that a 2026 study found that product pages with this many images convert 3.2 times better than those with fewer. Include a hero shot, internal views, macro detail shots of the stitching, and a lifestyle photo. This variety provides enough information for the buyer to feel confident without overwhelming them.
What is the best lighting setup for a small leather workshop?
A single-light setup using natural window light is often the best choice for a small workshop. North-facing windows provide a soft, consistent glow that won't create harsh shadows on your leatherworking tools or projects. If you're working in a basement or at night, a large LED panel with a softbox positioned at a 45-degree angle is a great alternative. It mimics natural light while giving you total control over the shadows.
How do I show the scale of a leather bag without a model?
Use familiar "Everyday Carry" items to indicate scale when a model isn't available. Placing a standard smartphone, a set of keys, or a notebook next to your bag provides an immediate reference point for the viewer. This helps the customer visualize how the item fits into their daily life. Ensure these props match your brand's aesthetic so they feel like a natural part of the story rather than a distraction.
