

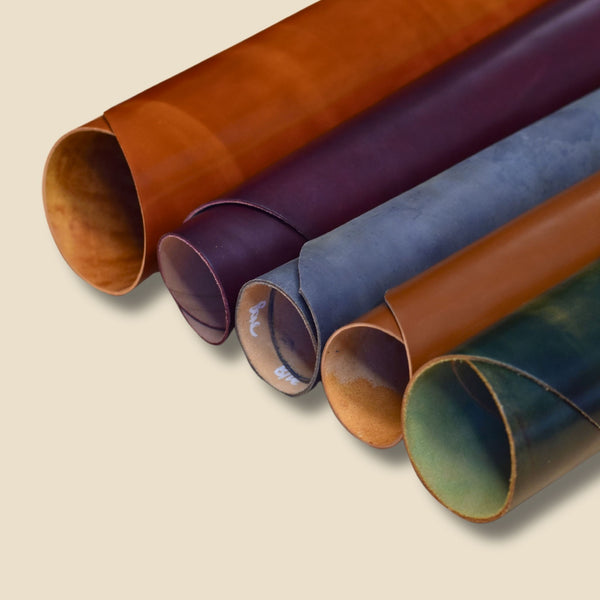


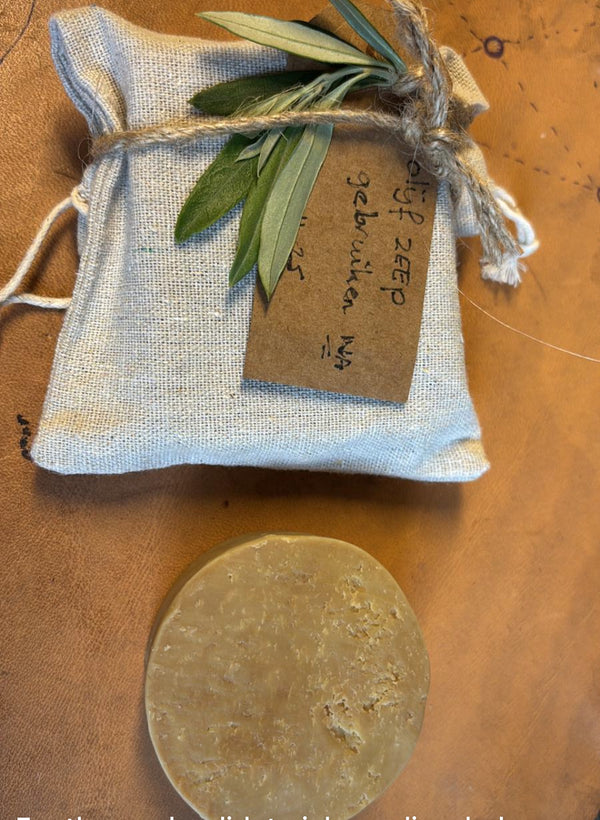
Building a Legacy With Your Craft Through Trust and Quality
A beautiful piece may catch the eye, but trust is what makes people remember the hands behind it. Building a legacy with your craft means pairing careful work with reliability, honest relationships, and a standard of quality you’re proud to stand behind.
You already know skill matters. So do the choices behind each project: the materials you select, the care you give the details, and the way you treat the people who rely on your work. Over time, these choices shape more than a body of work. They build a reputation people can trust.
In this article, you’ll learn how lasting relationships, consistent quality, and thoughtful choices can help your craft carry meaning beyond a single project. We’ll also explore how to develop a distinctive style and body of work while preserving the care and collaboration that make craftsmanship matter. A legacy isn’t built in one grand gesture. It grows through intentional work, repeated over time.
Key Takeaways
- Develop a recognizable style by refining your choices and letting a consistent body of work reflect your values.
- Record techniques, material decisions, and lessons learned so valuable knowledge can be preserved and shared.
- Pass skills on through clear demonstrations, patient practice, and opportunities for learners to build confidence.
- Protect quality while managing profitability by understanding the time, materials, and care each piece requires.
- Share your process and finished work online to help people connect with the craft and the person behind it.
How do you develop a distinctive craft style and body of work?
A distinctive style grows from repeated choices, not one signature detail. A leatherworker might favor clean edges, visible hand stitching, and simple shapes across wallets, belts, and cases. Another maker may use bold colors and sculpted forms. In either case, consistency helps people recognize the work while leaving room to refine it.
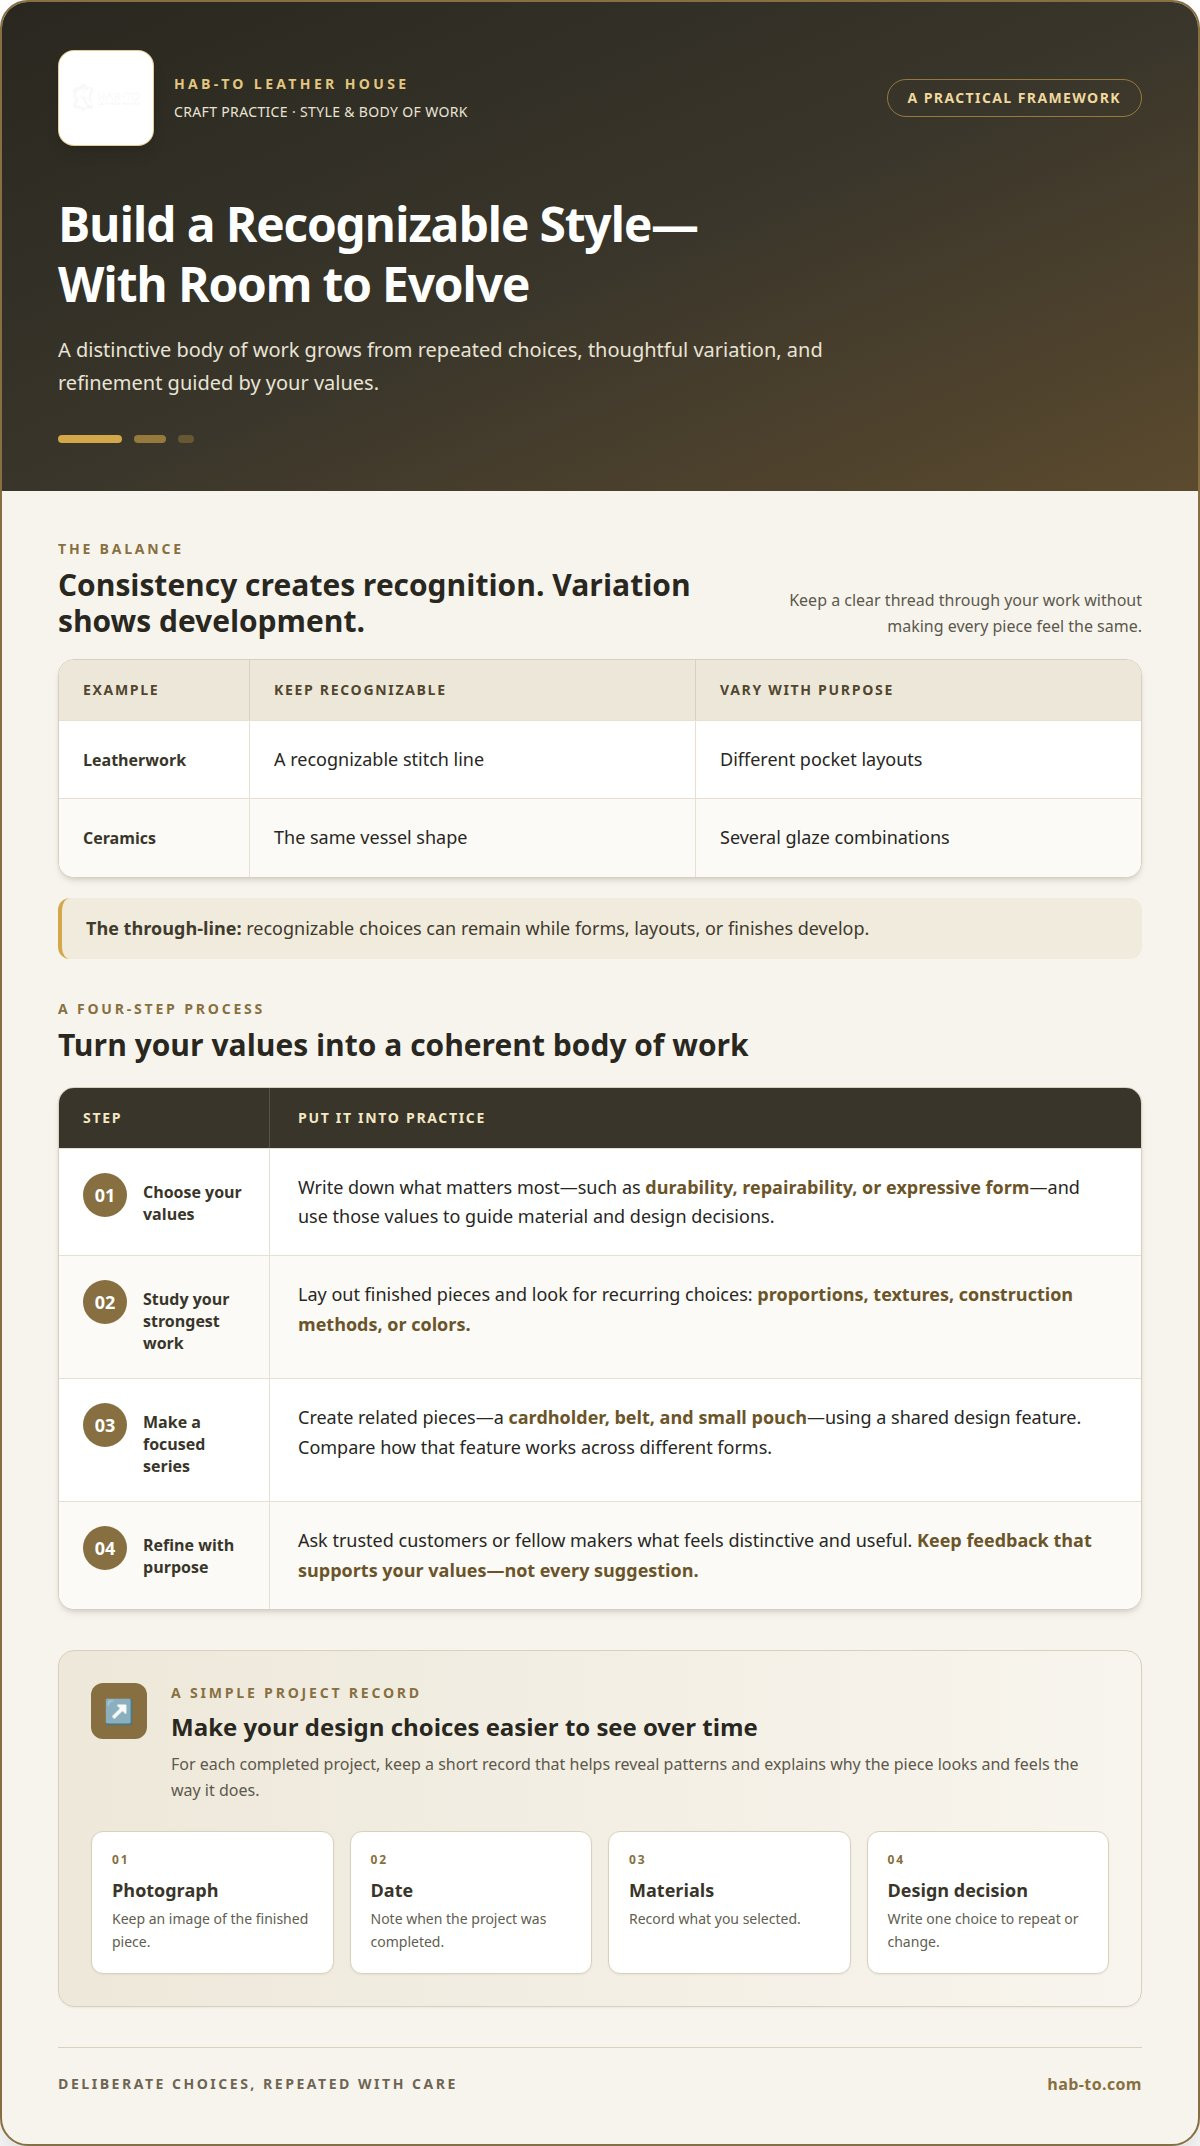
Build that consistency through a practical four-step process:
- Choose your values. Write down what matters most, such as durability, repairability, or expressive form. Use those values to guide material and design decisions.
- Study your strongest work. Lay out finished pieces and note recurring choices: proportions, textures, construction methods, or colors.
- Make a focused series. Create related pieces, such as a cardholder, belt, and small pouch, using a shared design feature. Compare how that feature works across different forms.
- Refine with purpose. Ask trusted customers or fellow makers what feels distinctive and useful. Keep feedback that supports your values, not every suggestion.
A body of work needs both variation and a clear thread. A ceramic artist, for example, can explore several glaze combinations while keeping the same vessel shape. A leatherworker can vary pocket layouts while retaining a recognizable stitch line. These choices show development without making each piece feel unrelated.
Keep a simple record of completed projects: a photograph, the date, the materials, and one design decision to repeat or change. Over time, this record reveals patterns you may miss while working. It also helps explain why a piece looks and feels the way it does. Building a legacy with your craft starts with deliberate choices, repeated with care and adapted as your skills grow.
The Legacy Builds describes collaboration, care, and effort as part of the work behind its projects. This perspective broadens what counts as a stylistic choice: it includes not only a piece’s visible form, but also how decisions are made and attention is given during the process. When working with another person, agree on the qualities that should guide the work before settling its details. Make room for each person’s contribution, then consider whether the outcome still feels coherent. Collaboration offers a way to learn without requiring you to adopt every suggestion. Keep the choices that serve the intended character of the work, and think carefully about how shared input shapes the result.
Care can guide the small decisions that give a body of work its character. Consider how you select materials, finish a piece, and make sure the result feels considered rather than rushed. Effort matters, too: give a promising idea enough attention to test and refine it, while recognizing when further changes no longer serve the design. These values need not appear as dramatic features. They can emerge through deliberate choices repeated across different kinds of work. Reflecting on the process as well as the finished object can clarify which habits feel meaningful, which choices deserve to continue, and how your practice can develop without losing its purpose.
How can craftspeople document and preserve their techniques?
A useful record explains how a piece is made, not just how it looks when finished. For a leather saddle stitch, note the thread, hole placement, needle path, and tension. These details help another maker repeat the method and understand where small variations affect the result.
Document a technique as you work, while each decision is still clear. Use this four-step record:
- Name the process. Write the project and technique, such as hand-setting a rivet on a leather strap.
- List materials and tools. Identify the leather, thread, awl, needles, or setting tool used. Note relevant characteristics, such as thread thickness or leather temper.
- Record the sequence. Describe preparation, each action, and the moment you check the work. For edge finishing, include sanding, burnishing, and how you judge a smooth result.
- Capture decisions and repairs. Note what went wrong, what changed, and why. A short note about adjusting thread tension is more useful than “stitching problem.”
Pair written instructions with close-up photographs or a short recording. Show hand position, tool angle, and the finished detail. Add captions explaining what each image demonstrates. A photograph of a skived leather edge, for example, can clarify the instruction to taper the layers before joining them.
Store the record in a labeled folder, notebook, or shared archive. Include the project name, date, materials, and revision notes so later versions don’t erase earlier methods. Keep a working copy and a separate backup. After some time away, test the instructions by following them yourself. If a step depends on touch, describe the sensation with a practical comparison, such as firm pressure without stretching the leather. This turns personal knowledge into a repeatable teaching resource.
How can you teach your craft and pass skills on to the next generation?
Teach one skill at a time, then let learners practise it themselves. For hand stitching leather, demonstrate how to mark the stitch line, pierce the holes, and guide the needles. Explain what even tension looks like before asking the learner to sew a short test piece. A clear example gives them something specific to notice and repeat.
Use a gradual teaching sequence that moves from watching to independent work:
- Show the finished result. Point out the neat seam, aligned edges, or other quality markers.
- Demonstrate slowly. Repeat the hand movement while naming each tool and decision.
- Practise together. Let the learner try a small section while you coach one adjustment at a time.
- Review the work. Discuss what worked, then have the learner repeat the technique without prompts.
Adapt the lesson to the learner’s experience. A beginner making a leather cardholder may need help controlling an awl, while an experienced maker may benefit from comparing stitch spacing or thread tension. Give feedback on a specific action, such as keeping the needles on a consistent path. Clear guidance builds judgment without taking the work out of the learner’s hands.
Preserve the relationship as well as the method. Invite questions during practice, explain why you choose one approach over another, and make room for learners to develop their own style. Structured leathercraft masterclasses can provide a setting for demonstrations and guided practice.
Finally, give learners a modest project they can complete and assess themselves. A stitched key fob, for example, lets them practise cutting, hole placement, and finishing in one piece. Ask them to describe one decision they made and one skill they want to strengthen next. That reflection turns instruction into independent craft knowledge they can carry forward.
How do craft businesses balance artistic quality with profitability?
Profitability starts with understanding what each piece requires. For a handmade leather tote, record the hide, lining, hardware, thread, labor, and finishing time. Include setup, cleanup, packaging, and material lost during cutting. Without those details, it’s easy to underestimate the work behind a beautifully finished item.
Use a repeatable costing process before setting a price:
- Track inputs. Record materials and the time required for cutting, assembly, stitching, and finishing.
- Include business costs. Account for tools, workspace, packaging, and other overhead that supports production.
- Review the margin. Compare the amount charged with total costs, then adjust the design or process if the return cannot support the work.
- Recheck after changes. A new lining, more detailed stitching, or revised hardware can change labor and material needs.
Keep quality standards visible. If every tote needs aligned seams and clean edges, define those checks before production. Then look for efficiencies that don’t weaken them. Cutting several matching panels together may reduce repeated setup, while rushing edge finishing can undermine the piece. Improve the workflow, not the standard.
Separate core designs from custom work. A consistent wallet pattern can follow a stable construction sequence, while a monogram or unusual pocket layout requires additional planning. Explain how custom details affect the process, and don’t treat extra labor as invisible. This protects both your time and the customer’s expectations.
Finally, review which pieces earn their place in your range. If a complex belt buckle requires substantial handwork, offer it as a considered specialty rather than forcing every product into the same production model. Clear records help reveal how material choices, batch size, design complexity, and finishing time shape the result. This allows a craft business to protect its artistic signature while making decisions grounded in the work.
How can craftspeople build an audience and share their work online?
Show the work behind the finished piece. A close-up of a saddle stitch, a short clip of edge finishing, or a sequence showing a bag take shape gives viewers something specific to learn. Process content lets people see the care behind each decision, not just the final polish.
Choose a clear subject for each post. A useful sequence might cover material selection, one construction technique, and the completed object. Keep the explanation focused: name the tool, show how you use it, and explain which detail you’re checking. For instance, a post about stitching can show how evenly spaced holes help create a consistent seam.
Use a simple publishing routine:
- Plan a repeatable theme. Share a technique, material, or project detail in each post.
- Capture useful moments. Film steady, well-lit footage of hands at work, with the important movement visible.
- Write specific captions. Describe the process and invite readers to ask about a detail or share their experience.
- Review responses. Notice which questions recur, then answer them in a future post or demonstration.
Use short-form craft videos to make a process visible, but keep each clip tied to one clear idea. A brief demonstration of burnishing an edge is easier to follow than a fast montage of an entire project. Add captions so viewers can understand the steps without relying on sound.
Build recognition by repeating your visual choices. Consistent lighting, a familiar work surface, and a recognizable way of explaining techniques can make your posts feel connected. Share finished pieces alongside the steps that shaped them. Over time, useful demonstrations and thoughtful replies give interested viewers reasons to return, learn, and trust the person behind the work.
What You Will Need
A thoughtful leathercraft setup supports repeatable work and makes finishing easier to assess. For a stitched wallet, gather the materials and tools before cutting. Keeping them close at hand organizes the workbench and makes it easier to record which choices produced a clean result.
Use this practical checklist as a starting point. Choose items to suit your project and technique:
- Leather: Select leather suited to the object, such as a firm piece for a cardholder or a more flexible piece for a small pouch.
- Cutting and marking tools: A knife, ruler, and marking tool help create consistent panels and stitch lines.
- Stitching tools: An awl, needles, thread, and a stitching pony support stitching work. Choose from leatherworking tools that suit your project.
- Edge-finishing supplies: Keep an edge beveler and burnishing tool nearby. Tokonole and finishing bundles can support a tidy edge-finishing setup.
Match your kit to the project rather than collecting tools without a clear purpose. A watch strap needs careful cutting, stitching, and edge work. A belt may require different hardware and a longer cutting surface. Before starting, make sure each tool suits the material and task.
Keep a notebook beside the bench. Record the leather, thread, tools, and finishing steps used for each sample. If an edge looks especially even, note the sequence that produced it. This turns your supplies into a repeatable working method, not just a collection of equipment.
For a first project, prepare a small test piece before cutting the final material. Use it to practise stitching and finishing, then assess the result under good light. A well-planned setup, suitable tools, and careful notes help protect the quality of each finished piece.
Related Articles
Continue exploring the ideas in this guide through related learning and practical resources. Choose a subject that matches the next step in your work, whether you’re developing a technique, preparing to teach, or selecting materials for a project. Each resource can connect craft knowledge with decisions at the workbench.
Explore these related topics:
- Teaching leathercraft: Leathercraft masterclasses offer a way to learn through demonstrations and guided practice.
- Choosing tools for a project: Browse leatherworking tools when you’re planning the operations your design requires.
- Learning from a maker: Mike’s leathercraft background provides context from an experienced practitioner’s perspective.
- Selecting project materials: Explore leather for craft projects as you consider how material choices fit your intended design.
These resources offer different ways to deepen your learning. A masterclass can show a technique in practice, while a collection of tools can help you consider what a project requires. Other makers’ experience can also provide useful context as you shape your own approach. Choose the resource that best fits the question you’re working through now.
Contextual Product Block: Equestrian Leathercraft
For makers exploring equestrian projects, the horse-related leather collection offers a relevant place to consider materials. Leather and hardware choices shape how a project is constructed and finished, so match them to the design and intended use.
Keep project notes alongside your material choices. Recording decisions can help you explain your process and reproduce a successful result. It also gives another maker a clearer view of your approach, connecting practical choices with knowledge worth sharing.
Hab-To Leather House: Crafting Bundles
Hab-To Leather House offers Crafting Bundles as a practical resource for makers developing their leathercraft skills. Bundles bring project-related supplies together, so you can focus on planning and making rather than selecting every item separately. Consider one when starting a new project or organizing your workbench.
Begin with the piece you want to make. A cardholder, belt, and watch strap each call for different materials and tools. Your design, construction method, and current toolkit will help you decide whether a bundle suits the project or individual supplies make more sense.
- For a first project: Explore leathercraft starter bundles as you consider which supplies fit your plans.
- For material selection: Vegetable-tanned leather may suit your project when its qualities align with your design and construction method.
- For assembly: Leather hardware provides components to consider as part of your design.
- For a developing toolkit: Leatherworking tools support specific tasks, from cutting and stitching to finishing.
Choose with intention. Think about the technique you want to practise, the materials your design calls for, and the tools already on your bench. These decisions can help you repeat a process and assess your finished work consistently. They also provide a clear foundation for explaining your methods to another maker.
Crafting Bundles are one way to bring supplies together for your work. Whether you’re preparing a new piece or refining your setup, start with a defined project and consider which materials and tools support it. This keeps your choices focused on the craft you want to develop.
Get in touch with Hab-To Leather House to discuss your leathercraft needs.
Frequently Asked Questions
What does building a legacy with your craft mean?
Building a legacy with your craft means leaving work, knowledge, and relationships that remain meaningful beyond a single project. A hand-stitched leather journal, for example, can bring its maker’s care into someone else’s daily life. Its value may also lie in the choices behind it: thoughtful construction, dependable service, and respect for the people who use or learn from the work.
How can artisans build a lasting legacy through their work?
Artisans build a lasting legacy by making deliberate work and treating each customer relationship as part of their practice. A leatherworker, for example, can learn how a customer uses a belt, recommend a suitable design, and follow through on agreed details. Collaboration with other makers can also create work neither could produce alone. These choices build a reputation through experience, not claims.
How can craftspeople measure their long-term impact and legacy?
Keep records of completed projects, including photos, materials, and design decisions, then review them over time to notice recurring choices and how your work has developed. Document techniques and observe whether learners can practise and repeat them independently.
Disclaimer
All our blog articles are made for information purposes only we dont take responsability for any content from third parties.