

Ways to Fix a Stitching Line Mistake Without Starting Over
Starting over is often the wrong first move. When fixing a mistake in your stitching line, first decide whether it affects the appearance or function of the work. Leave a minor imperfection if it won’t disrupt what comes next; correct it if it will. Often, you can cover, remove, add, or adjust stitches without undoing everything.
A misplaced stitch can feel impossible to ignore, especially when you’ve taken care with every part of a project. The right repair depends on what went wrong and how far you’ve progressed. This guide explains how to decide whether to leave a flaw, cover it with the correct color, remove stitches to reach it, add a missing stitch, or correct a reversed row. The guiding principle is simple: preserve the work that’s already right.
Key Takeaways
- Decide whether an imperfection affects the look or progress of your project before undoing stitches; a minor flaw may be easier to work around.
- For a misplaced cross-stitch, consider stitching over it with the correct color rather than removing the surrounding work.
- When stitches need to come out, remove only enough to reach the error, then rebuild the row carefully.
- A recently dropped knitting stitch may be recoverable by pulling the ladder rungs through the loop with a crochet hook.
- Before correcting a reversed row, compare the row with your pattern and check whether its knit-and-purl sequence matches the stitch pattern.
1. Choosing whether to keep or fix an imperfection
Fixing a mistake in your stitching line doesn’t always mean unpicking it. First, compare the flaw with the pattern and the project’s purpose. A small uneven stitch in a textured tree may disappear among the branches. The same misplaced stitch in a crisp geometric border could draw the eye or disrupt the pattern.
Check whether the imperfection affects what comes next. In cross-stitch, see whether you can follow the chart without crowding stitches or changing the design. In knitting, consider whether the mistake affects fit or bothers you enough to spoil your enjoyment. A flaw that changes a garment’s shape deserves more attention than an irregular stitch hidden in a relaxed scarf.
To see careful removal on a sewn project, watch Natalia Bonner demonstrate how to unpick machine quilting without restarting the whole piece:
What You Will Need
Gather the project’s pattern or chart, good lighting, and a pencil or removable marker to identify the error. A magnifier can help distinguish similar chart symbols. For leather hand-stitching, suitable stitching tools and bundles may be useful; knitting and cross-stitch call for their own materials.
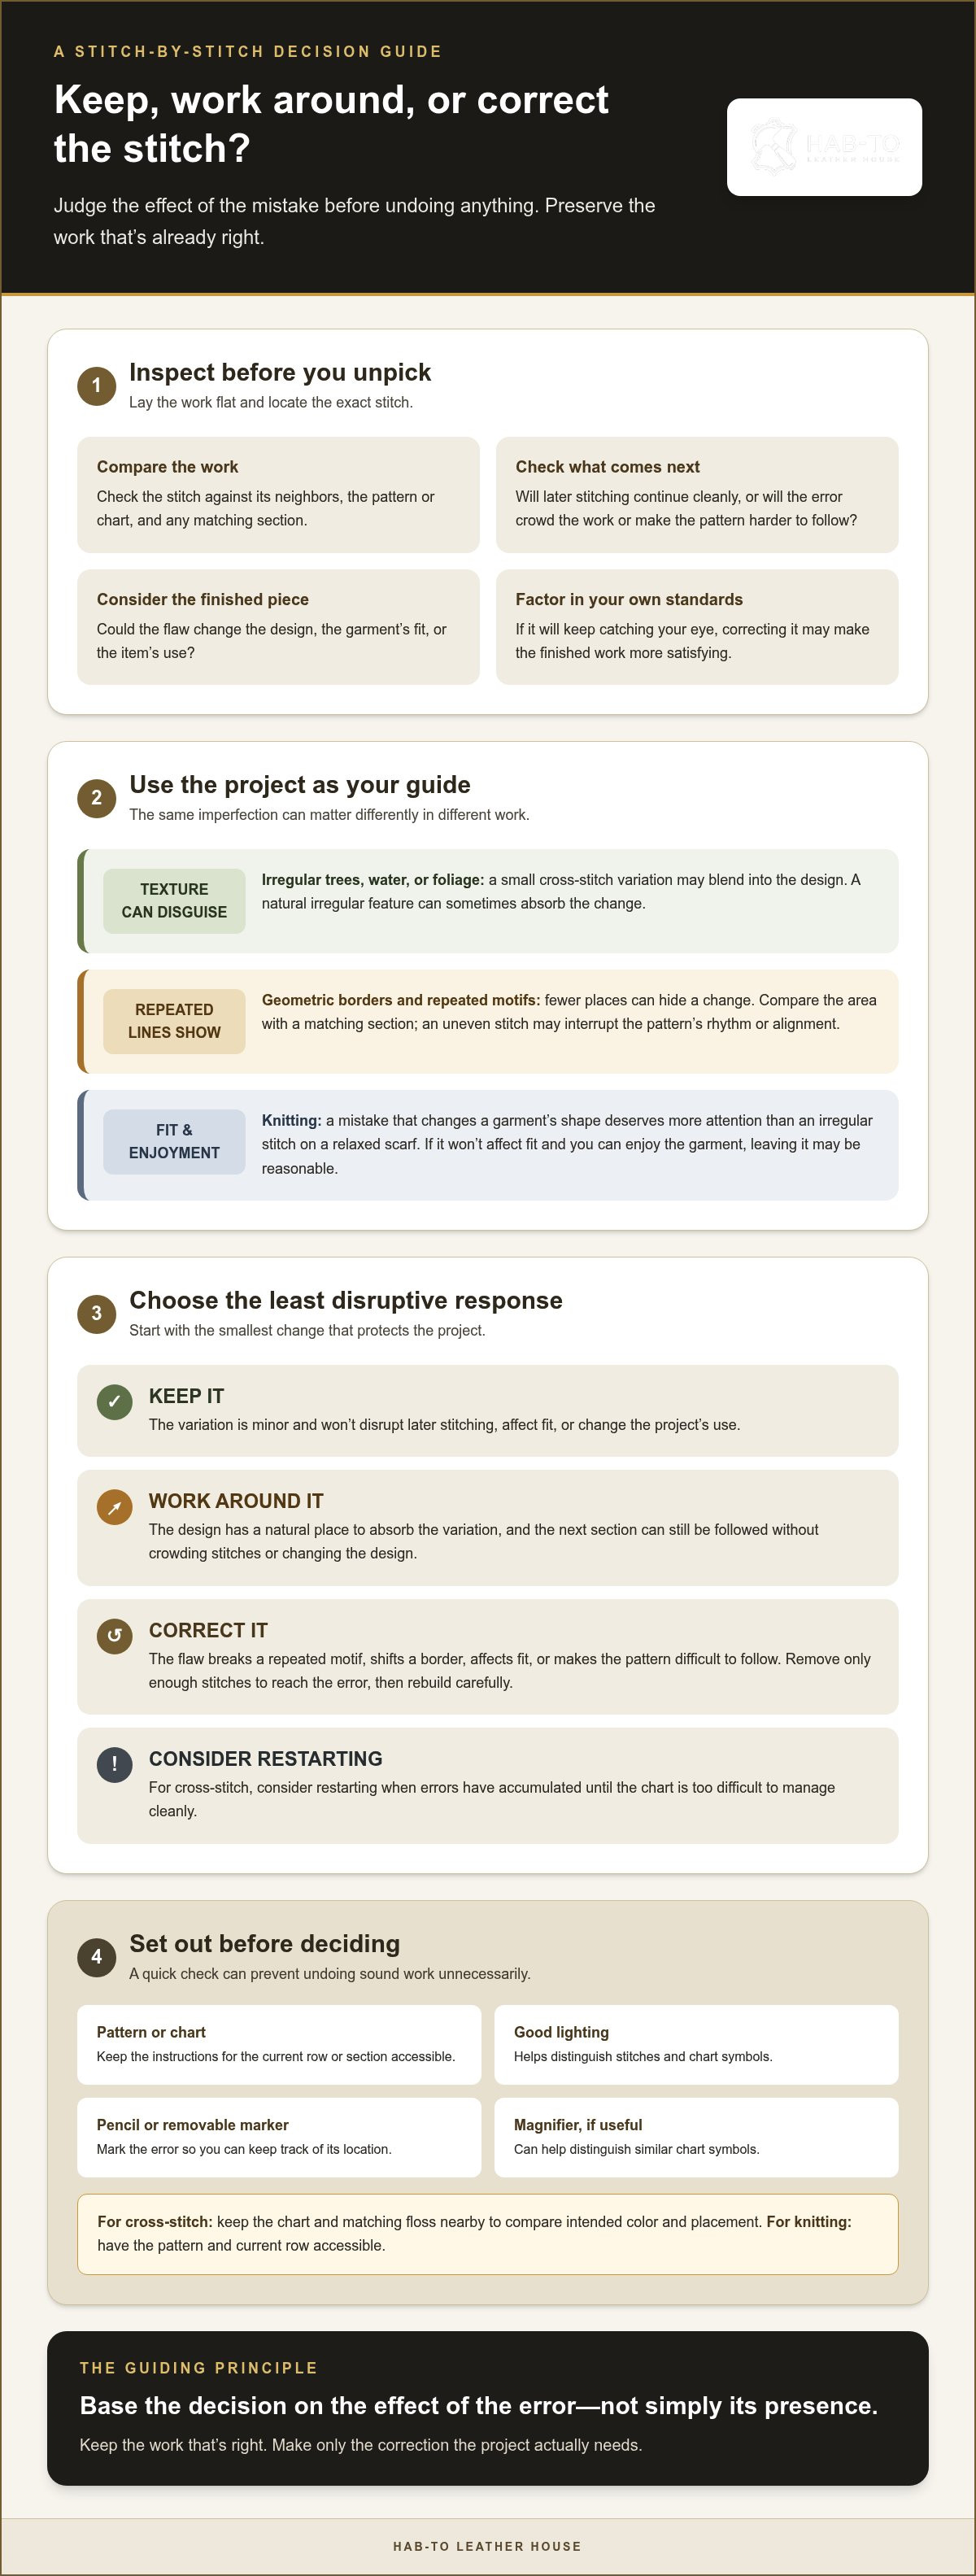
Before deciding, lay the work flat and locate the exact stitch. Compare it with nearby stitches, the chart, or the row pattern. Ask whether leaving it will affect the next section, the overall balance, or the finished item’s use. These checks help you distinguish a harmless variation from an error that could affect the rest of the work.
- Keep it if the stitch is minor and the following work remains on track.
- Work around it if the design has a natural place to absorb the variation.
- Correct it if the flaw disrupts a border, changes fit, or makes the pattern difficult to follow.
- Consider restarting when cross-stitch errors have become too numerous to manage cleanly.
Texture can help disguise a small variation. In a cross-stitch landscape, a misplaced stitch may blend into irregular water or foliage. Repeated motifs and straight outlines offer fewer places to hide a change, so compare the area with matching sections before choosing.
Your own standards matter, too. If a knitting mistake won’t affect fit and you can enjoy the finished garment, leaving it may be reasonable. If you know it will keep catching your eye, correcting it may make the project more satisfying. Choose deliberately, then continue with care.
Base your decision on the effect of the error, not simply its presence. A knitter may leave a mistake if it neither affects the fit nor causes distress. In cross-stitch, you can work around a minor error as long as it won’t affect the rest of the stitching. Texture in trees or water may make that easier. If errors have accumulated until they’re too difficult to manage, restarting the cross-stitch project may be appropriate. Let the impact on the work guide whether to continue, adapt, or begin again.
1. Choosing whether to keep or fix an imperfection
Fixing a mistake in your stitching line doesn’t always call for unpicking. First, judge how the flaw affects the project’s structure and appearance. An uneven stitch among irregular tree branches may blend into the design. The same stitch in a symmetrical border can interrupt its rhythm or alignment.
Check the next steps before deciding. In cross-stitch, see whether the chart still works around the misplaced stitch without crowding nearby squares. In knitting, consider whether the flaw affects fit or distracts you from wearing the finished piece. A mistake that changes a sleeve’s shape has a different impact from an irregular stitch on a relaxed scarf.
For a demonstration of careful stitch removal on a sewn project, watch Natalia Bonner unpick machine quilting without restarting the whole piece:
What You Will Need
Set out your pattern or chart, the project, and a pencil or removable marker to note the error. Good lighting helps you distinguish stitches and symbols; a magnifier can make similar chart marks easier to read. For cross-stitch, keep the chart and matching floss nearby to compare the intended color and placement. For knitting, have the pattern and current row accessible.
Lay the work flat, locate the exact stitch, and compare it with its neighbors. Then consider whether later rows can continue cleanly, whether the finished shape or design will change, and whether the flaw will keep bothering you. This brief inspection helps you avoid undoing sound work unnecessarily.
- Keep it if the variation is minor and won’t disrupt later stitching.
- Work around it if the design has an irregular feature that can absorb the change.
- Correct it if it breaks a repeated motif, shifts a border, or affects fit.
- Restart if cross-stitch errors make the chart difficult to follow throughout the project.
Texture can influence your choice. In a landscape, irregular water or foliage may disguise a small cross-stitch variation. A geometric border has repeated, precise lines, so the same imperfection may stand out. Compare the affected area with another matching section before choosing.
Your own standards matter, too. If a knitting flaw doesn’t affect fit and you can enjoy the garment, leaving it can be a sound choice. If it keeps drawing your attention, correcting it may help you feel satisfied with the finished work. Decide with the project’s purpose in mind, then continue deliberately.
3. Removing stitches (frogging)
In cross-stitch, removing stitches to return to an error is called frogging. For a sewn seam, use a seam ripper to remove misplaced stitches without cutting the fabric. Work slowly, exposing only the section that needs correction. Pulling a long run of thread at once can snag the fabric or loosen stitches you meant to keep.
A seam ripper and small, sharp scissors are useful for unpicking; a hand-sewing needle helps close a short gap. Use a seam ripper for a longer line of machine stitches, and hand-sew when only a few stitches need adjustment or the fabric is delicate. Keep the tool’s point away from the fabric threads.
To unpick a seam, turn the fabric so you can see the stitch line clearly. Slide the ripper’s pointed end beneath a stitch, then cut the thread without digging into the material. Remove a few stitches, gently separate the fabric, and check whether you’ve reached the error. Repeat only as far as needed.
After ripping out stitches, align the fabric edges and pin or hold them flat. Restitch along the original seam line, beginning on sound stitches and securing the new line before the gap. For a sewn seam, test the stitch on a scrap first, then sew steadily through the repaired section.
- For a crooked line: Remove the uneven section, realign the fabric edges, and use a seam guide or marked line as a path.
- For puckering: Unpick the gathered area, smooth the layers without stretching them, then resew with even tension.
- For a small gap: Use a hand-sewing needle to close only the open section, matching the existing stitch direction.
Uneven stitching usually happens when the line drifts or the fabric shifts. Remove the crooked portion rather than pulling the thread tight to force it straight. Pinning the layers and following a marked seam line can help keep them aligned as you restitch.
Puckering along a stitch line needs a different fix. Unpick the puckered section, smooth the fabric flat, and check that both layers feed evenly. Then resew without pulling the fabric from behind the needle. If the material still gathers, check the tension and test the stitch on a scrap before repairing the project.
In knitting, “frogging” means undoing stitches to return to an earlier row. Unravel only as far as the error, then place the live stitches securely back on the needle before continuing. If the unraveled yarn is crimped, washing it can help relax it before you begin again.
For an incorrect cross stitch, covering it with the correct color can hide the mistake without removing stitches. This is an alternative to frogging when you want to conceal the error rather than undo the stitches. Consider whether the correct color will cover the misplaced stitch; if so, leave the existing stitches in place. If it won’t hide the mistake, removing stitches remains an option. Choose the method that suits the correction.
4. Adding a missing stitch
A dropped knitting stitch often leaves a ladder of loose horizontal strands below a live loop. If it came from the most recent row or two, you may be able to repair it without undoing the whole project. Pause your knitting and identify the dropped loop first. Letting it run farther can make the repair harder.
Check the right and wrong sides of the fabric before using a hook. In stockinette, smooth V-shaped knit stitches and purl bumps show which side you’re facing. Follow the ladder rungs in order, since each strand belongs to a row. A crochet hook a few sizes smaller than your knitting needles can help catch each rung neatly.
- Secure the loop: Hold the dropped stitch so it can’t unravel farther while you work.
- Find the lowest rung: Identify the first loose horizontal strand beneath the loop.
- Pull through: Use the crochet hook to draw that rung through the loop, forming a new stitch.
- Repeat upward: Work each ladder rung through the new loop until you reach the current row.
- Return the stitch: Place the repaired loop back on the left knitting needle, keeping its legs untwisted.
Check the stitch direction before continuing. If the loop sits backward on the needle, its legs may cross when you knit it. Turn the loop as needed, then compare it with neighboring stitches. A clean column of V shapes in stockinette is a useful visual check.
A slipped stitch is different from a dropped stitch. If you spot the unknit stitch in the current row, lift it over the working yarn, knit it, and continue. This can correct the stitch without undoing completed rows. Keep the working yarn in the proper position to avoid creating an unintended loop.
Garter stitch needs a different visual check because it alternates rows made entirely of knit stitches with rows made entirely of purl stitches. Compare the repaired area with the ridges beside it. If the ladder crosses several rows, follow each strand carefully to keep the garter ridges consistent.
After returning the loop to the needle, knit the next stitch slowly and inspect the fabric. The repair should sit in the same column, with no loose ladder strand left behind. If the loop has dropped beyond the most recent row or two, or the strands are hard to identify, undoing work back to the stitch can provide a clearer route. Washing unraveled yarn can relax its crimp before you begin knitting again.
5. Fixing a reversed row
A reversed row usually means the stitches don’t match the pattern’s intended sequence. In knitting, you might work knit stitches where the pattern calls for purl stitches. Before undoing anything, compare the row with the written instructions and the fabric below it. The texture can show whether the error affects one stitch or the whole row.
Garter stitch alternates rows made entirely of knit stitches with rows made entirely of purl stitches. Check the fabric’s ridges and the pattern directions to identify which row you should be working. If you’ve repeated the previous row’s stitch type, pause before starting another. Continuing could extend the correction into more of the fabric.
If you catch the mistake near the beginning, undo the row one stitch at a time. This method, often called “tinking,” lets you return to the point where the row went wrong. Hold the work so the live stitches stay secure, and place each recovered loop back onto the needle with its legs untwisted. Then follow the correct stitch sequence.
If the whole row is reversed, you may need to undo it back to its starting edge. Work patiently and watch the stitches release; don’t pull the yarn sharply. Once you’ve removed the row, count the stitches against the pattern before knitting again. This check can catch a dropped loop before it becomes another problem.
- Find the error: Compare the row’s texture with the pattern and the row below.
- Decide how far to undo: Unravel to the first incorrect stitch when the error is local, or return to the row’s beginning when the sequence is wrong throughout.
- Restore the loops: Place each live stitch back on the needle without twisting it.
- Restart with the pattern: Read the stitch instructions as you work across the row.
A garter-stitch example makes the check clear. If the instructions call for a purl row but the new row looks like the preceding knit row, inspect the loops before proceeding. A purl bump or knit V can help distinguish the stitch type. Compare several neighboring stitches, since the edge stitch may look different from the center.
For a repeated pattern, follow its symbols or written abbreviations rather than relying on memory. Place a removable marker beside the row’s starting point, then follow each instruction across. If the reversed row has already been followed by more work, identify where the pattern first changes before undoing stitches. Removing only the affected work preserves correct rows, while restarting the row restores the intended texture.
Hab-To Leather House: Vegetable Tanned Leather
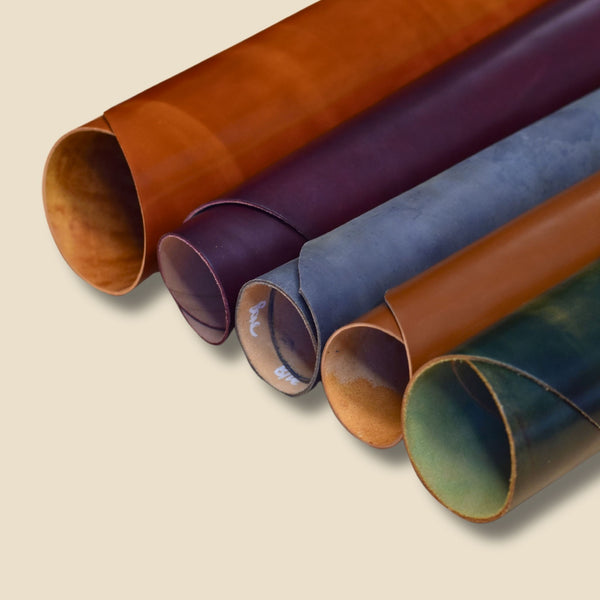
Hab-To Leather House offers vegetable-tanned leather, leatherworking tools, leather hardware, and crafting bundles for makers working on leather projects. If a stitching mistake has you reconsidering a leather build, matching the repair approach to the material matters: a line of stitching on leather calls for tools suited to leathercraft, rather than a fix designed for knitted fabric or cross-stitch. For a new project, explore vegetable-tanned Pueblo leather as one material option. Tools and bundles can also help you gather materials for your own leathercraft work. Choose this direction when you’re planning or continuing a leather project, not when you need advice about mending a knitted row or a cross-stitch chart. Visit hab-to.com to explore the leathercraft range or contact Hab-To Leather House.
Give your next project a confident start
Let each repair teach you about your materials and working rhythm. Before your next project, prepare a small test piece and check how your stitches sit, how the fabric responds, and whether your tools feel comfortable. This gives you a reference point before you begin the finished work.
When fixing a mistake in your stitching line, choose a repair that suits the material and preserves the work around it. Not every imperfection means you need to begin again. Make a deliberate choice, then keep moving with care.
If your next project is in leathercraft, Hab-To Leather House’s crafting bundles bring together materials and tools for the work ahead.
Take the next stitch patiently. Your skill grows with every thoughtful decision.
Frequently Asked Questions
How do you fix a mistake in a sewing stitch line?
Stop sewing and mark the correct route before changing the seam. If the line is only slightly off, compare it with the seam allowance and check whether the finished piece will still fit. For a more visible error, remove the affected stitches, then align the fabric edges and sew a fresh line. On a machine, secure the seam ends with backstitching to keep the repair in place.
How do you repair skipped stitches or broken thread?
For skipped stitches, stop and inspect the needle, thread path, and bobbin before sewing again. Rethread the machine, checking that the thread sits correctly through each guide, then test on a fabric scrap. If the thread broke, trim the loose ends and restart on secure stitching, overlapping the existing seam slightly. Use a hand needle to secure any remaining gap, then inspect both sides for loose loops.
Disclaimer
All our blog articles are made for information purposes only we dont take responsability for any content from third parties.