


How to Apply Leather Finish Evenly: The Artisan’s Guide to a Flawless Seal
You’ve spent forty hours carving, dyeing, and stitching, only to watch a single streak of topcoat ruin the entire piece. It’s a heartbreaking moment that every artisan knows too well. You want to honor the hide, not mask it with messy layers. Most makers struggle with how to apply leather finish evenly, especially when dealing with the unpredictable absorption of vegetable tanned hides. It’s common to feel like professional results require expensive machinery or industrial sprayers. We’ve been there too. We believe in quality without concessions.
The truth is that a factory-quality seal is about your mechanical technique, not your budget. You don't need a specialized setup to get a smooth, professional-grade topcoat. I’m going to show you how to master the prep work and applicator choice to ensure a streak-free result every time. We’ll cover the specific movements that prevent bubbles and the prep steps that guarantee even absorption. We’ll also look at how to choose the right applicator for your specific project. Let's make sure your hard work gets the flawless, durable seal it deserves.
Key Takeaways
- Discover why the "Clean Slate" rule is the foundation of a professional finish and how to remove oils that cause uneven absorption.
- Learn exactly how to apply leather finish evenly using specific circular motions that prevent unsightly brush and sponge marks.
- Master the "toothpick trick" and other simple artisan techniques to eliminate bubbles and streaks before they ruin your topcoat.
- Understand the vital role of buffing and why this often-skipped step is the secret to a high-end, factory-quality glow.
- Find out how starting with premium vegetable tanned hides simplifies the sealing process and honors the natural heritage of the craft.
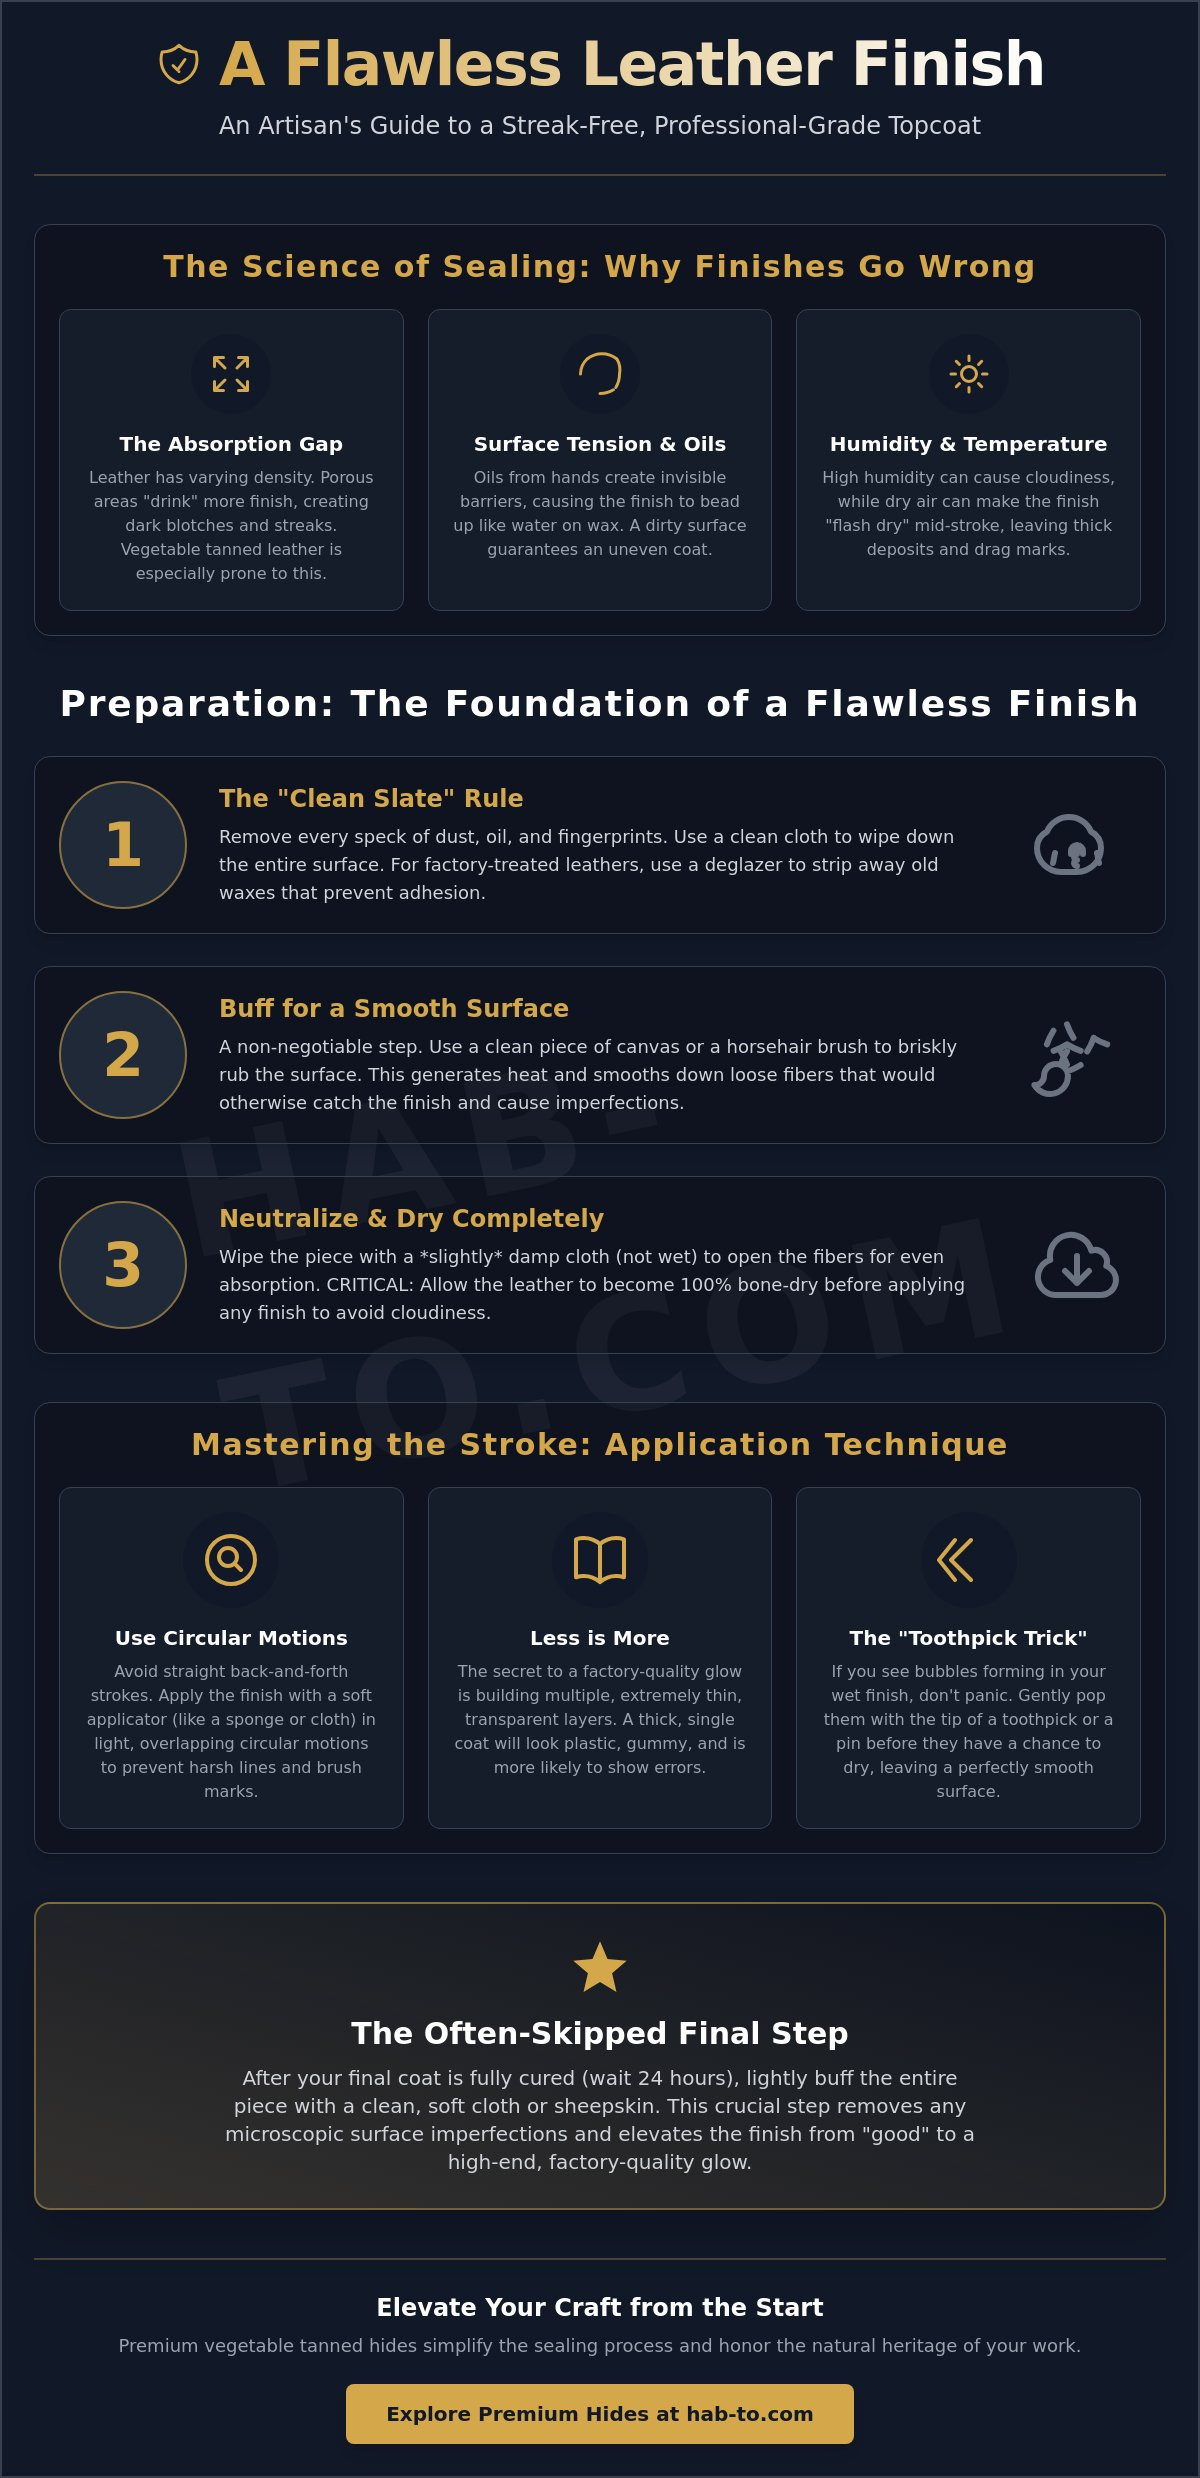
The Science of Sealing: Why Leather Finishes Go Wrong
A leather finish is more than just a shiny top layer. It's a functional shield. Think of it as a protective topcoat that regulates moisture and prevents dye transfer. Without it, your sweat or a light rain could ruin your work. It keeps the leather from drying out and cracking, but it also stops the pigments from staining your clothes. The struggle with how to apply leather finish evenly usually starts here. If you don't understand how the liquid interacts with the fiber, you're fighting a losing battle against physics.
To see these principles in action on a smaller scale, watch this helpful video on edge finishing:
The "Absorption Gap" is the main culprit behind streaks. Leather isn't a uniform plastic sheet; it's a biological material with varying density. The grain side is tight and smooth, while the flesh side is loose and porous. When you apply a finish, the leather "drinks" it. If one area is thirstier than the next, it pulls more liquid in, creating a dark blotch. Mechanical friction during application matters more than the liquid itself. The heat and pressure from your stroke help the seal bond with the fibers rather than just sitting on top.
Porous vs. Non-Porous Hides
Different tanning methods dictate your entire strategy. For example, vegetable tanned leather has wide, open pores. It's incredibly prone to blotching because it absorbs liquids instantly. You have to move fast to stay ahead of the drying line. Contrast this with the dense structure of shell cordovan. This leather is so tight that finish often sits on the surface, requiring a completely different approach to avoid a gummy buildup. Understanding these differences is the secret to how to apply leather finish evenly without ruining a premium hide.
The Role of Surface Tension
Surface tension determines if your finish beads up or drags across the grain. If the leather is too oily, the finish will bead like water on a waxed car. If it's too dry, the applicator will "grab" and leave thick deposits. Humidity and temperature also play huge roles. High humidity slows your drying time, which can be a blessing for blending, but it can also cause cloudiness in acrylics. In dry climates, the finish might "flash dry" before you finish your stroke. When dealing with high-viscosity acrylics, remember that less is always more. Building thin, transparent layers is the only way to achieve that professional, factory-quality glow.
Preparation: The Secret to a Streak-Free Surface
I’ve seen many beautiful carvings ruined by a rushed final coat. You might think the finish is the problem, but it’s usually the surface underneath. Prep work is where the battle is won. If you want to know how to apply leather finish evenly, you have to start with the "Clean Slate" rule. This means removing every speck of dust, every fingerprint, and every trace of residual oil before you even open your bottle of sealant. Oils from your hands can create invisible barriers that cause the finish to bead, leading to those dreaded light spots.
Buffing the leather is a non-negotiable step for any serious artisan. Use a clean piece of canvas or a horsehair brush to briskly rub the surface. This generates a tiny amount of heat and smooths down any loose fibers that might catch the finish. If you’re working with factory-treated leathers, you’ll likely need to deglaze the surface first. This process strips away existing waxes that would otherwise prevent your new topcoat from adhering. Always test your process on a scrap piece from the same hide. It’s the only way to guarantee the result you want on your final project without risking the main piece.
Neutralising the Surface
Before applying the seal, I often use a slightly damp cloth to wipe the entire piece. It shouldn't be wet, just barely moist. This tiny bit of moisture opens the fibers, allowing for a more even intake of the topcoat. However, you must ensure the leather is 100% dry before the first coat goes on. Applying finish over damp spots is a recipe for cloudiness and trapped moisture. Be careful with heavy conditioners right before a topcoat. They can block the finish from penetrating, leaving the seal sitting precariously on the surface where it’s prone to peeling.
Tool Selection for Even Coverage
Your choice of applicator changes everything. For large surfaces, high-density sponges usually beat wool daubers because they hold more liquid and distribute it with less pressure. Avoid old t-shirts. Even "clean" ones often drop lint that becomes permanently trapped in your seal. I always recommend that leather hardware be masked with tape or removed entirely before you start. It’s much easier to reinstall a buckle than it is to clean dried acrylic off of solid brass. Having the right leatherworking tools on your bench makes this entire preparation phase much more manageable and precise.
Master the Stroke: A Step-by-Step Application Technique
Applying the seal is a dance of timing and pressure. If you want to master how to apply leather finish evenly, you must start with a dry-ish applicator. Load your sponge or dauber sparingly. If the liquid is pooling or dripping, you’ve already used too much. It’s better to go back to the bottle ten times than to deal with one giant drip mark that has soaked deep into the grain. Load it light. Move fast. Trust the process.
The actual application happens in two distinct phases. First, apply the finish in small, overlapping circular motions to saturate the grain from every angle. This ensures no tiny pits or pores are left thirsty. Second, immediately follow up with long, light linear strokes. These strokes level the surface and pull any excess liquid into a uniform sheet. Patience is your best tool for the final steps. Allow the first coat to dry completely before you even think about a second. A second coat applied over a damp first layer will result in a muddy, dull look. Once fully cured, give it a vigorous buff with a clean horsehair brush to bring out that natural glow.
The Overlapping Circle Method
Circular motions are your best defense against the start-stop marks that ruin brush-applied finishes. By moving in circles, you never leave a hard line where the applicator first touched the hide. The key is managing the wet edge. The wet edge is the active boundary of applied finish that must not dry before the next stroke connects. If that edge dries, you’ll see a visible lap mark that no amount of buffing can fix. Work in manageable sections to keep that edge alive and moving across the surface.
Layering for Depth and Protection
I always follow the Two Thin Coats rule. One thick coat is risky; it takes forever to dry and often traps bubbles. Two thin coats create a durable, glass-like depth that looks far more professional. If you notice tiny imperfections after the first coat, you can sand lightly with 800-grit paper once it’s bone dry. This is the secret to a mirror finish. During the drying process, you’ll encounter the tacky phase. This is when the finish is no longer liquid but hasn't yet hardened. Never touch the leather during this phase. Even a light fingerprint will be permanently embossed into the seal, forcing you to strip the piece and start over. Respect the material, and it will reward you with a flawless result.
Troubleshooting Common Finishing Disasters
Even when you know exactly how to apply leather finish evenly, the material can sometimes surprise you. I've ruined my fair share of projects at the very last step. It’s a frustrating experience, but most errors aren't permanent if you catch them early. If you spot streaks while the coat is still wet, don't panic. You can often reactivate and blend the topcoat by using a slightly damp applicator to gently smooth out the lines. This works best with water-based acrylics before they reach the tacky phase.
Bubbles are another common headache. They usually appear because the bottle was shaken too vigorously or the applicator was moved too fast. My favorite artisan secret is the toothpick trick. Keep a few toothpicks on your bench and pop those tiny bubbles the moment they appear. If you wait until it dries, you’ll be left with a cratered surface that feels like sandpaper. If the finish makes your leather look significantly darker than expected, you likely applied it too heavily. Remember, finishes act like a lens; they magnify the colors beneath. Always light-test your seal on a scrap piece first.
Rescue and Recovery Techniques
If you find a dried drip or a thick run, you don't necessarily have to start over. A piece of 800-grit or higher sandpaper can level the area. Lightly sand the high spot until it's flush with the rest of the grain, then carefully reapply a very thin layer of finish to blend it back in. Blending a missed spot is harder because you risk creating a "halo" effect. To avoid this, feather the edges of your new application into the existing dry seal. Stripping the finish with a professional deglazer is the nuclear option. Only use this if the entire piece is blotchy or peeling. For the most reliable results, it's always best to start with high-quality vegetable tanned leather that accepts finishes predictably.
Environmental Factors
Your workshop environment is your silent partner in finishing. If you're working in a dusty garage, those particles will find their way into your wet seal every time. 2026 climate trends have shown a shift toward higher average humidity in many regions, which directly impacts your drying times. High humidity can lead to the "Cloudy Finish" mystery, where moisture gets trapped under the seal, ruining the clarity of your work. I recommend building a simple dust-free drying box for small projects. A plastic storage bin turned upside down over your project works perfectly. It allows air to circulate while keeping floating debris away from your flawless seal.
Elevating Your Craft: Professional Tips from Hab-To
Starting with premium hides makes a world of difference in your final results. When you work with high-grade vegetable tanned leather, the fibers are consistent and the surface is clear. This makes the process of how to apply leather finish evenly significantly easier for beginners. You aren't fighting deep scars or loose grain that absorb liquid at unpredictable rates. At Hab-To, our philosophy is rooted in respecting the natural patina and heritage of every hide. We believe a finish should protect the material without masking the unique story it tells.
We know that finding the perfect combination of dye and topcoat takes practice. That’s why we maintain a no minimum order policy. It allows you to buy small pieces of various hides to test your finishes cheaply before you commit to a full skin for a major project. Mastering how to apply leather finish evenly is the final step in moving from a hobbyist to a professional maker. There is a meditative nature to this part of the craft. It’s the quiet, final act of creation where you finally see the true depth and character of your work revealed.
Matching Finish to Leather Type
The intended use of your project should always dictate your finishing choice. High-use items like wallets or belts need a durable, flexible acrylic seal to withstand daily friction and body oils. Decorative art pieces might only require a light natural wax to preserve their fine detail. Shell Cordovan is a unique case in the workshop. Often, this dense, oily material needs nothing more than a traditional deer bone and a vigorous buff to maintain its legendary luster. For oil-tanned leathers, look for finishes that enhance the pull-up effect rather than stiffening the grain. Choosing the right seal ensures the leather ages gracefully alongside its owner.
Your Next Steps in Leathercraft
Your journey doesn't end with a single bottle of sealant. I invite you to explore our curated selection of professional tools and premium hides at hab-to.com to find your next inspiration. Whether you are an Amsterdam local looking for a face-to-face chat or a global crafter seeking technical advice, our personal consultation service is here to help you navigate the nuances of the craft. We take pride in being more than a supplier; we are your partners in this ancient tradition. You should view the final finish as the unique signature of your work. It is the last touch that defines the quality, durability, and soul of everything you build.
Master the Final Seal
A flawless finish isn't a matter of luck. It's the result of disciplined preparation and mechanical precision. You've learned that how to apply leather finish evenly depends on the "Clean Slate" rule and the deliberate transition from circular saturation to linear leveling. These techniques ensure your work remains free of streaks and bubbles, protecting the natural beauty of the hide for years to come. Respect the material, control your environment, and never rush the drying phase.
We're here to support your journey from the first cut to the final buff. With over 160 years of family expertise, Hab-To provides the foundation for your most ambitious projects. We are an Amsterdam-based global wholesaler committed to making professional materials accessible to every maker. We have no minimum order requirements, so you can focus on quality without unnecessary overhead. Trust in tradition. Choose quality without concessions.
Shop Premium Hides and Tools at Hab-To Leather House and give your next project the professional seal it deserves. Your craft is a legacy; finish it with pride.
Frequently Asked Questions
How do I stop my leather finish from looking streaky?
The best way to prevent streaks is to use small, overlapping circular motions followed immediately by long, light linear strokes to level the surface. Streaks usually appear when the finish dries at different rates or when you use too much pressure. Keeping a wet edge as you move across the piece ensures that new finish blends seamlessly with the previous section. This mechanical technique is the secret of how to apply leather finish evenly without leaving visible lap marks.
What is the best applicator for an even leather finish?
A high-density, closed-cell sponge is generally the best choice for achieving a uniform seal on large surfaces. These sponges hold a controlled amount of liquid and distribute it without the shedding or bristle marks common with brushes. For smaller, intricate areas, a wool dauber can work well, but you must be careful not to over-saturate it. Always ensure your applicator is lint-free to avoid trapping debris in your topcoat.
Can I apply a second coat of finish if the first one is blotchy?
You can apply a second coat, but you must wait until the first layer is completely dry. A thin second coat often helps level out minor inconsistencies by filling in less-saturated areas of the grain. If the blotchiness is severe, lightly sand the surface with 800-grit sandpaper before reapplying. This creates a smooth foundation that allows the second layer to bond more predictably with the hide.
How long should I wait between coats of leather finish?
Wait at least 30 to 60 minutes between coats, or until the leather is no longer tacky to the touch. Drying times vary based on your workshop's humidity and temperature. In damp conditions, it's safer to wait two hours to ensure the first layer has fully cured. Applying a new coat over a damp surface will trap moisture and lead to a cloudy, dull finish that lacks depth.
Does the type of leather affect how the finish applies?
The tannage and porosity of the hide significantly change your application strategy. Vegetable tanned leather has open pores that drink up finish quickly, making it prone to dark spots if you don't move fast. In contrast, chrome-tanned or heavily oiled leathers might resist water-based finishes entirely. Understanding how to apply leather finish evenly requires you to adjust your speed and volume based on how "thirsty" the specific hide feels.
Should I buff the leather after applying the finish?
Buffing is a non-negotiable step if you want a professional, factory-quality glow. Once the final coat is bone dry, use a clean horsehair brush or a soft cotton cloth to briskly rub the surface. This friction generates a small amount of heat that smooths the topcoat and settles the fibers. It transforms a flat, plastic-looking seal into a rich, deep finish that highlights the leather’s natural character.
How can I fix bubbles in my leather topcoat?
Pop any visible bubbles with a toothpick while the finish is still wet. Bubbles usually form because the finish was shaken too hard or the applicator was moved too aggressively across the grain. If the finish has already dried with bubbles, you'll need to lightly sand the area with fine-grit paper and reapply a very thin layer. Moving the applicator slowly and steadily is the best way to prevent them from forming.
Is it better to use a sponge or a brush for leather finishing?
Sponges are almost always superior to brushes for large leather projects. Brushes tend to leave individual bristle tracks and can cause the finish to pool in tooled areas or crevices. A sponge allows you to apply consistent, even pressure across the entire surface. This makes it much easier to maintain the thin, transparent layers required for a high-end artisan result.
